My journey in corset making continues! I’ve taken in the corset seams and shaped the waist a bit to hopefully give it a more hourglass shape. And after postponing for sometime, I finally got the courage to cut into my precious broche coutil.
The instruction is for single layer underbust, but I decided to use the technique from Corset Making e-book and made it double layered. Fortunately the Sew Curvy kit contained 0.5 m coutil fabric, which is exactly enough for a double layered underbust in my size. In this technique, each layered of panel is sandwiched between the next panel so the raw allowance is hidden inside. Each layer of the next panel is then turned and pressed, then the seam is topstitch twice to make the boning channel. It is similar to how I construct the seams for these bras.
However, I forgot to insert my waist stay tape before constructing! A waist stay is a strong piece of ribbon or tape, placed upon the waistline on the inside of the corset. It strengthens and stabilises the waist area so that the corset does without straining the fabric. As the type of seams that I chose is quite impossible to alter, I just resigned to the fate that my corset won’t have waist stay tape in it.
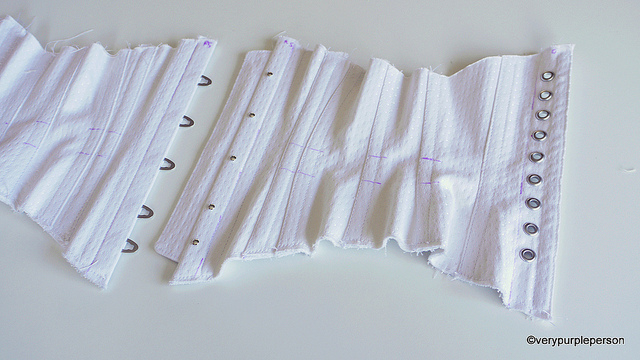
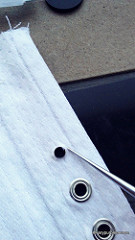
Time for inserting the eyelet for lacing holes. The first two holes took me half an hour to make because I had no idea how to keep the holes open without cutting into it. I pierced my thumb in the process and the first thing I thought was, ‘Nooo don’t let the blood ruin the fabric!’ Anyway I’m happy to say that the fabric is not ruined and also that I finally found my way for inserting the eyelet.
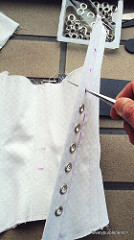
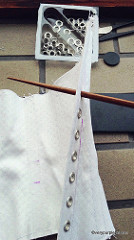
First, I made a hole with an awl, then widened the hole using a round chopstitck. Then I inserted the top part of the eyelet to the hole, you can see that the hole is still covered with some threads on the other side.
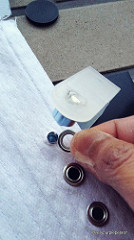
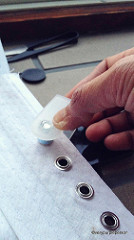
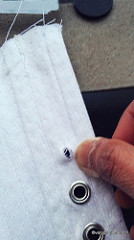
Using the tip of my awl, I nudged the threads gently to the side of the inserted top part. It is important that no threads are being cut here, the hole will shrink back and hold the eyelet tighter. After making sure that the hole is clear, I put the washer part to the back of eyelet and press it down. It will click a bit when you put it the right way. I put the whole thing into the plastic holder, again making sure that everything is in the right place. Then I hammered them down for good!
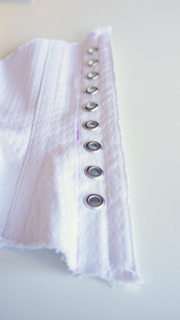
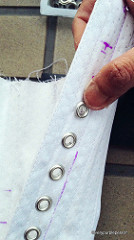
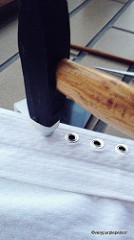
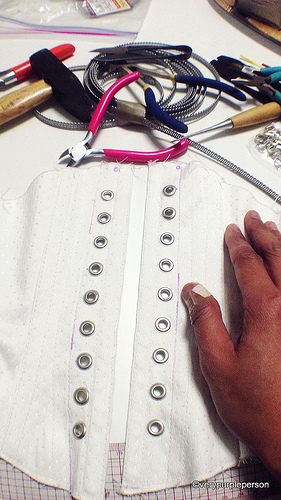 Here you can see the fruit of my labor and my poor thumb. I’m quite happy with this result because frankly I was starting to worry that making all those eyelets would take forever.
Another thing that I learned was choosing white for my first project is not really wise. Although I’ve tried to be careful, the corset has started to show some discoloration with all the handling that it have gone through. Maybe I can wash it later. How do you wash a corset?
I’m very happy with my progress though! I’ve learned a lot of things, my stitchings are quite neat with no needles harmed in the process. I forgot the waist stay tape but I can live with it, my thumb was injured but no blood stain on my precious white coutil. Next I will start cutting my spiral steel bones before inserting them to the boning channel. More things to learn!