
Bag dimensions in approximate:
- from top of straps to bottom of bag: 50 cm / 20 inches
- height: 28 cm / 11 inches
- width: 40 cm / 16 inches
Fabric needed:
I don’t know because I used leftover fabric for my bag. You can print the pattern and place it on your fabric to make an approximation. It is only one piece of pattern.
Fort similar bag, you can check Charlie bag by Burdastyle ($1.99). It is a bit bigger and has squared bottom.
Please go to the bottom of this post to download the PDF pattern and tutorial.
Disclaimer: You may use the finished products for both personal and commercial use (craft shops or markets only – no mass production). Please do not pass off the pattern and tutorial as your own. Thank you!
The Tutorial
1. Here is 4 pieces of fabrics after being cut. We’re gonna refer them as set A and set B. If you want pockets, sew them before going to the next step.
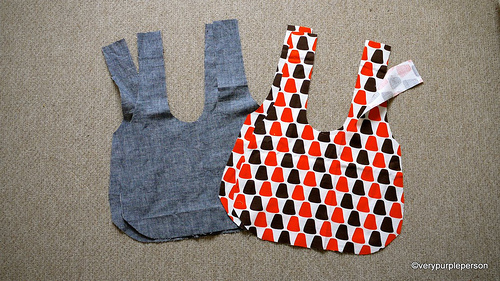
2. Sew the bottom and sides of each set. My bag has a rounded bottom and a dart, Charlie bag has straight edges.
If you use my pattern, sew the darts before sewing the bottom and sides of bag. My apology for not showing how to sew the darts, please do a google search if you don’t know.
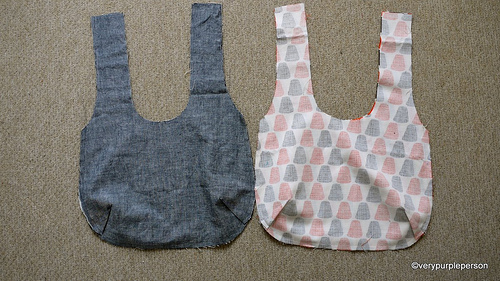
3. Put set B in set A, right sides together, and sew around the straps. Stop stitching about 20 cm before the tops of the straps. If your machine has reverse stitch, use it on each end of stitchings to secure it.
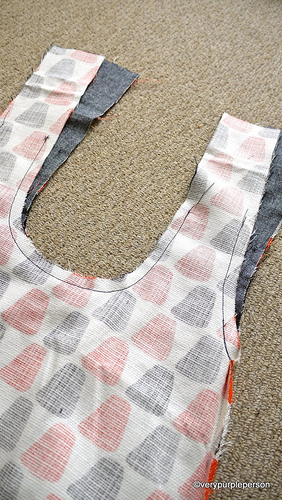
4. Clip rounded corners.
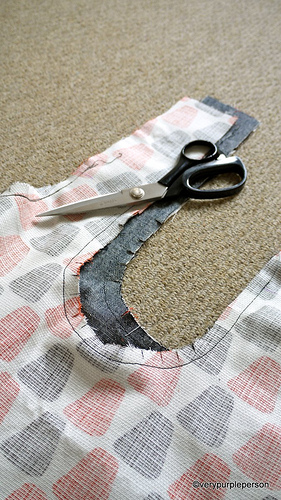
5. Turn the right sides out through one of the straps. It will be a bit difficult at first and you’re gonna wonder if you’re doing it right, but just keep doing it. You will feel a thug and after that the bag will turn right sides out smoothly.
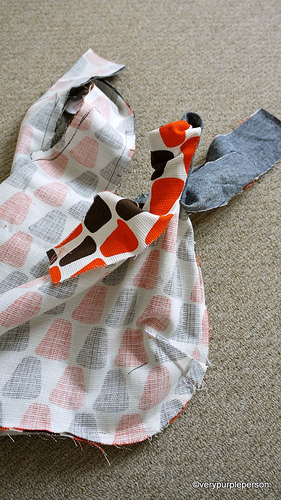
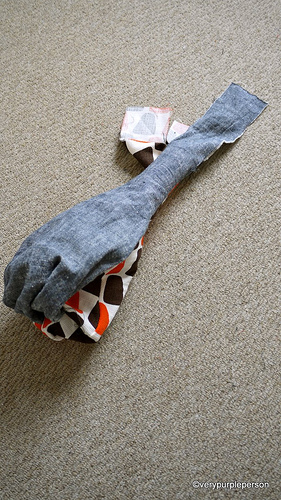
Pull out each of the remaining straps.
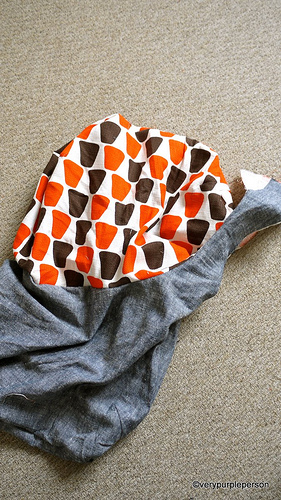
6. Look! You almost have a bag!
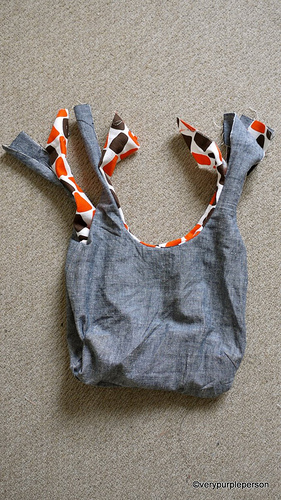
7. Sew the straps of each set together. I often sew the straps absent-mindedly and then found out that I’ve attached them wrong! So please make sure that you sew each strap to the strap beside it, NOT the strap that is in front of it.
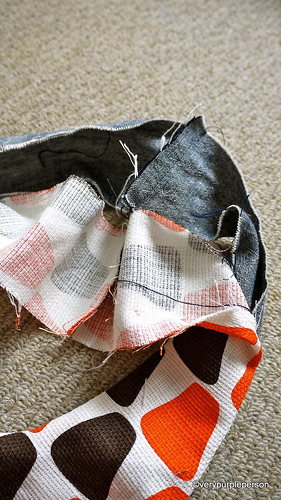
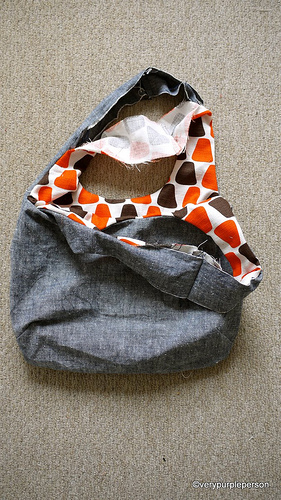
8. Press the seams open. Fold seam allowances on straps and press. Also press edges of bag to make it easier for topstitching.
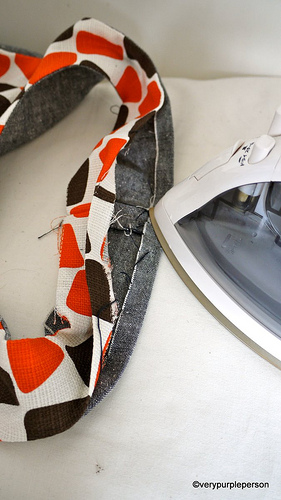
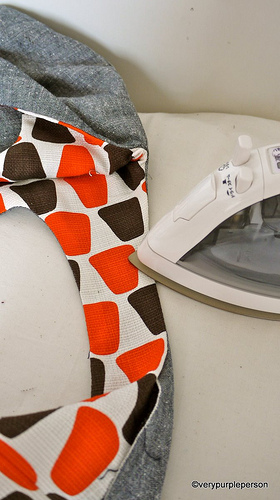
9. Match the tops seams together and pin all open edges of straps. You can also use fusible tapes to make sure it is neat. But I will use pins here.
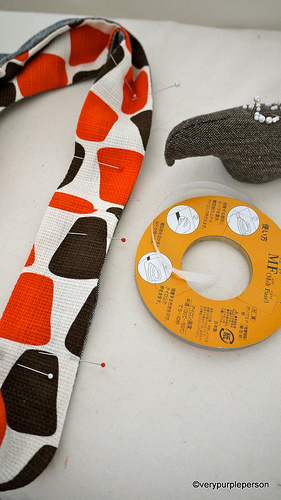
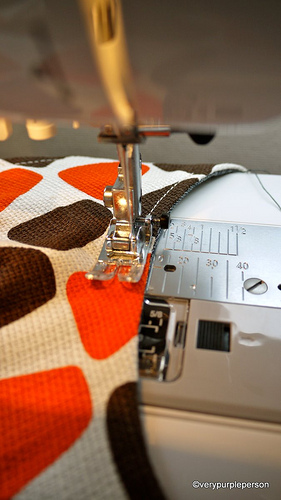
10. Topstitch all edges of bag. I use different colour thread for the bobbin.
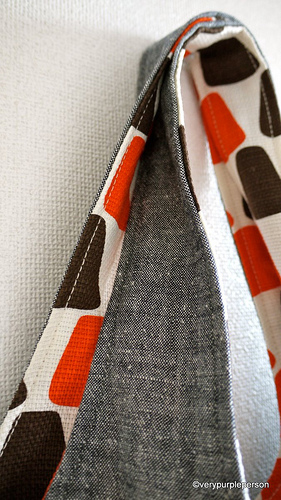
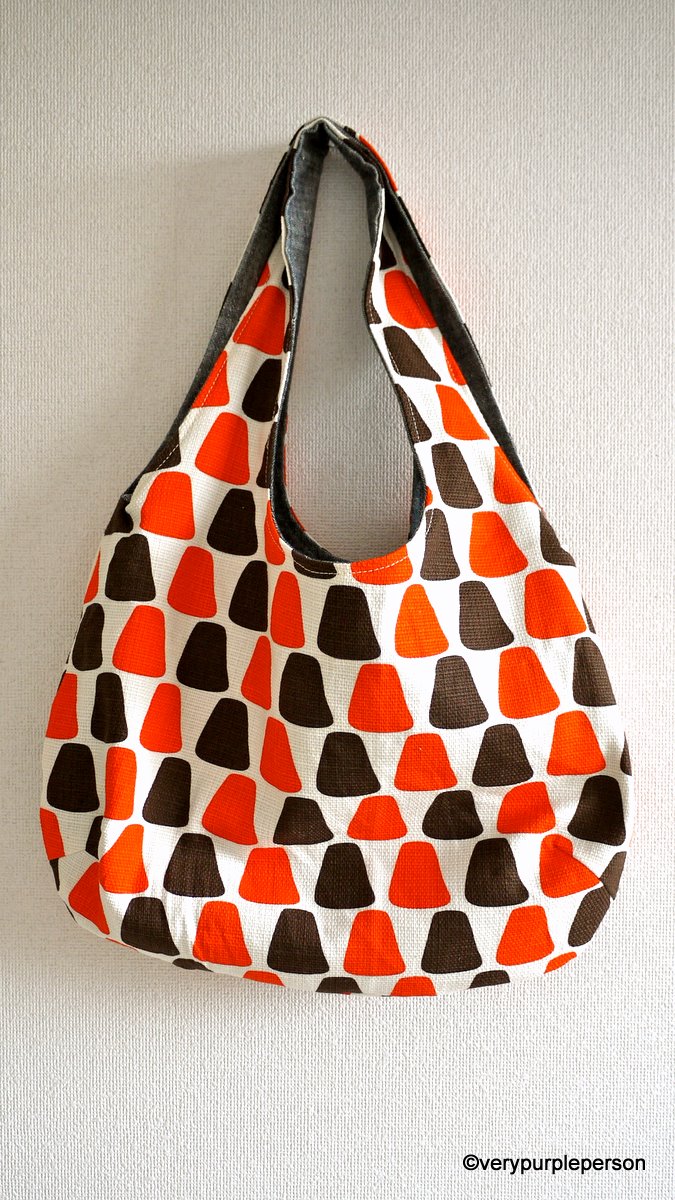
A reversible bag!
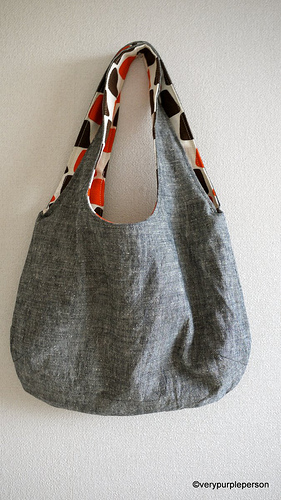
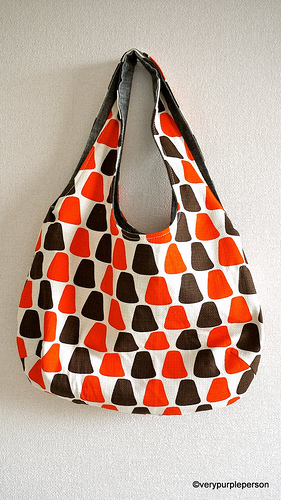
Thank you for reading and I hope this post is useful for you!
Click to download:
REVERSIBLE BAG PATTERN
REVERSIBLE BAG TUTORIAL

417 Comments
PLEASE could someone tell me how to get this pattern both the instructions and the tutorial to print? For some or other reason the PDF will not print. If I use the snipping tool and paste them into a photograph program, then I can print it but the printing is very fuzzy. Thank you so much.. I have asked this question to so many people, but I really want to make these bags for Christmas presents. Thank you so much
I’m also having the same problem! I would love to print this out so my Textiles class can make it.
Thank you for sharing your slouchy bag pattern. Straightforward instructions and very useful photos. I enjoyed making the bag and will probably make another one soon. 😁
I just finished sewing this purse. Its super cute. However mine turned out significantly smaller than yours did. I printed out the pattern and followed the directions for it. Its still a decent size but I’m kinda bummed it didn’t turn out as big as I was anticipating.
Did you use the print actual size option? Otherwise the automatic default may have been fit to page size which is smaller. The 10cm square in the first pattern page should measure 10cm on all sides with a ruler.
I just printed it and away I went LOL I never measured because it looked the right size but I’ll have to dig out the pattern and look it over again. I will definitely be making another one but I figured I would just enlarge the pattern to the size I wanted next time. The purse is totally usable it just wasn’t as oversized as I had expected. The picture of the lady holding her purse makes it look very large.
Thank you for the easy to follow tutorial. I had bought a panel that was supposed to be sewn https://uploads.disquscdn.com/images/2b4aebac212e932a22c26f8616eb01689c7b61bb4f51b5630501476686320724.jpg https://uploads.disquscdn.com/images/8c08b53f6b5ad3e05eac0aadfc8811c1cde73fc5d08b57d9590426a5dafff7c1.jpg https://uploads.disquscdn.com/images/62bad9a1ded2ace7c480aeef8982c7ba75b6334c74962b0df7fed4ab0e519d34.jpg like this, but the instructions were completely nonsensical, so I was happy to find your tutorial! The bag came out so cute with the right guidance. :)
I’m new at sewing, should I wash my fabric I’m using first?
This is probably too late, but, washing is up to you. I would wash and dry your fabric first just to decrease the risk of shrinkage during washing/drying in the future. I have done it both ways and have never had a huge problem. Good luck!
thank you for the pattern I hope to use it for a 4H club I run.