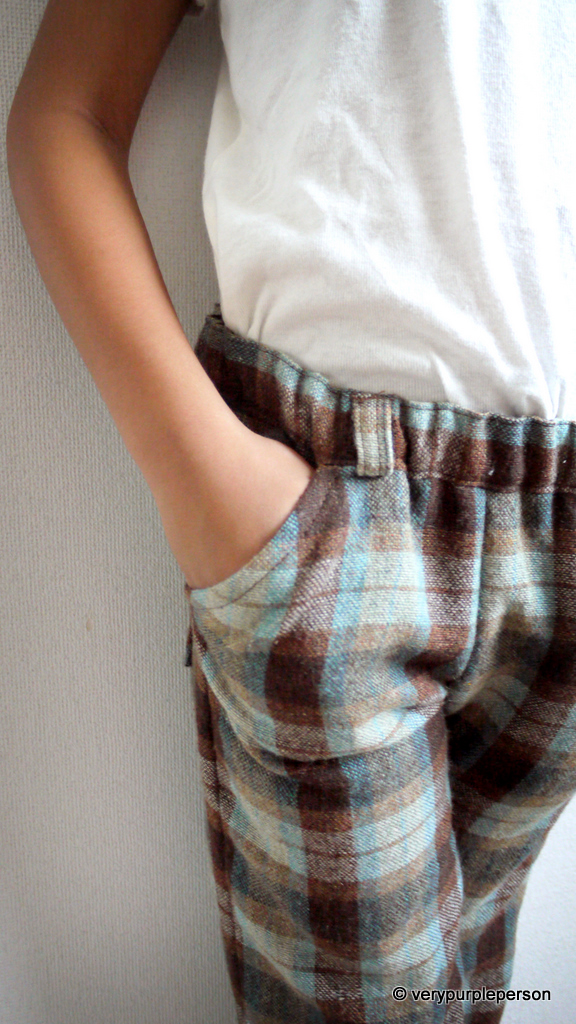
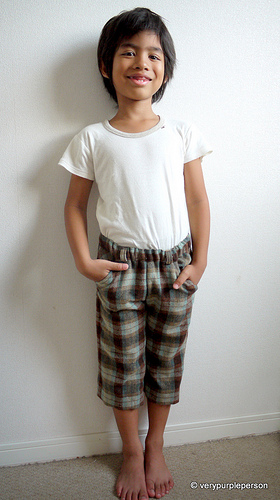
A reader commented on my post ‘Three meters of black linen’ , asking about how I made the side slant pockets for my son’s pants. So this is a tutorial on how I made them. You can also use this method for adult’s clothing by simply changing the dimensions.
Making the pockets pattern
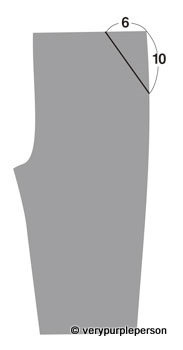
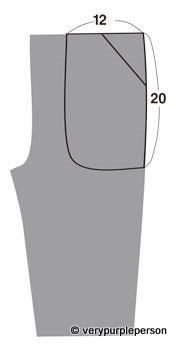
Draw pocket line.
Trace the front part of the pattern.
Draw the slanted opening line of the pocket. Make sure that it is big enough for the hand of the wearer.
My example here is for kid’s pants with separate waistband. If the pants has no separate waistband (i.e: pyjama pants with elastic or drawstring), the width of the elastic/drawstring area should be added to the side length of the pocket.
The pocket is 6 cm at the top and 10 cm on the side. You might need to make it bigger for adult’s size.
You can also make a curved line instead of straight line.
Draw the pocket lining
Draw the pocket lining.
Make a rough shape, approximately 12×20 cm. Make it bigger if you like deeper pocket.
Round the corner for easier sewing.
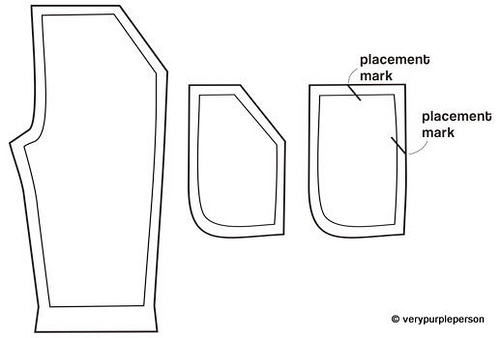
Trace pattern pieces
Pattern pieces: front pant piece, pocket lining, and pocket pouch.
Mark the placement of pocket line on the pocket pouch.
Trace all the pattern pieces on separate pattern paper and add seam allowances to the pieces.
You will have three pieces: front pant piece, pocket lining, and pocket pouch.
Sewing the pockets
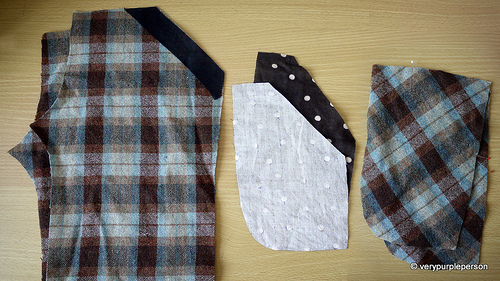
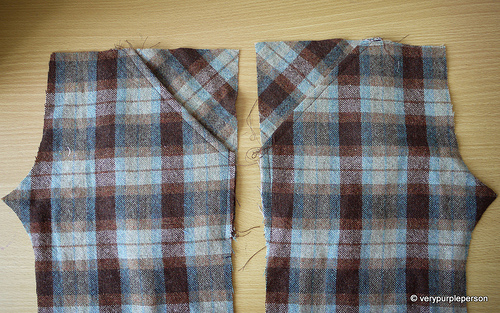
Front pant pieces, pocket linings, and pocket pouches.
Use your pattern to cut fabric.
You can use different fabric for the pocket lining for added detail and/or to prevent bulkiness if your fabric is a bit thick.
Since the slant pocket lines are not cut on fabric grain, I suggest to use fusible interfacing stay along the slanted lines to prevent stretching.
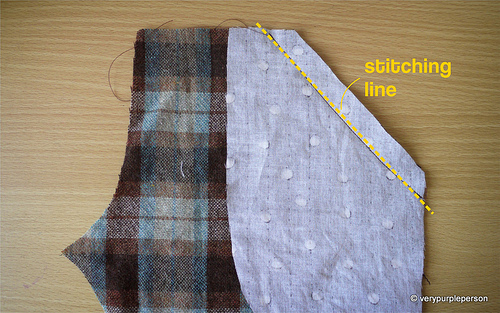
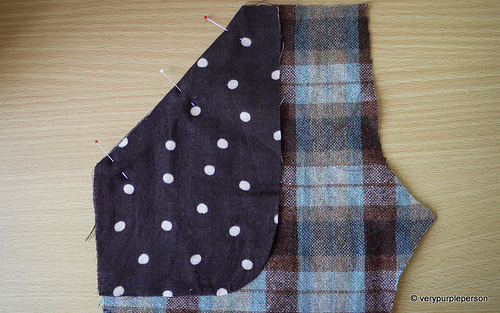
Place pocket lining on front pant piece, right sides together.
Place pocket lining on front pant piece, right sides together.
Sew along the slanted line (or curved, if your pocket is curved).
Turn the pocket and press the edge.
Turn the pocket and press the edge. If your lines are curved, clip the seam allowance before turning the pocket.
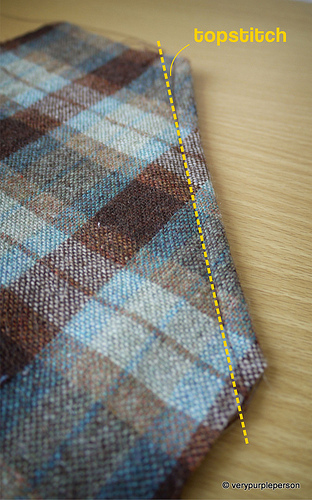
Topstitch the edge of pocket.
Topstitch the edge of pocket to keep the lining from ‘rolling’ outside. I usually use longer stitch length to do topstitching.
You can also make topstitching with thicker or different colour thread for added visual interest.
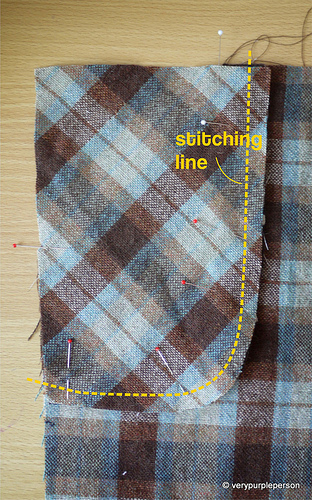
Pin the edge of pocket and sew along the edge.
Take your pocket pouch piece and place it on the pocket area, matching the placement marks.
Pin the edge of pocket and sew along the edge.
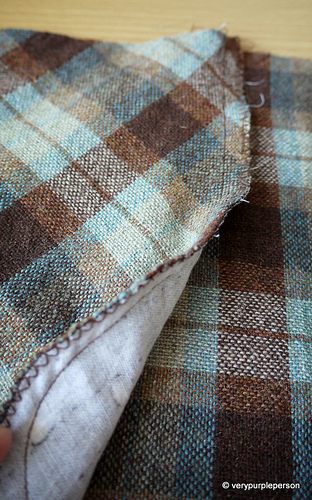
Finish the raw edge with your choice of finishing.
Finish the raw edge with your choice of finishing. You can use a serger, but I usually just use zigzag stitches.
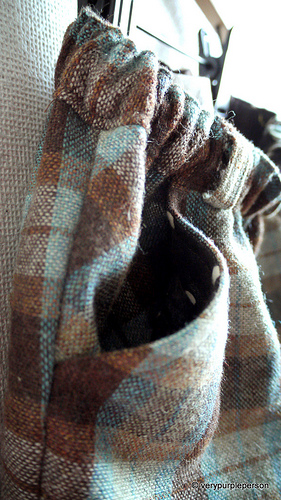
Baste the top and the sides of pocket.
Baste the top and the sides of pocket to the front pant piece.
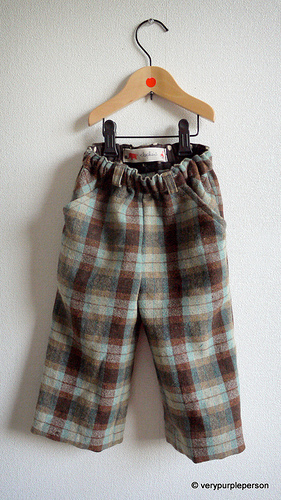
Finish your pants as usual.
You have a pair of front pieces with side slant pocket! Finish your pants as usual.