Someone sent me a link to a tutorial video on Youtube. And once on Youtube, you know that you’ve got to click all those related videos that look interesting on the side bar. Two hours later I came across a tutorial video on Proper Fit Clothing co. channel for making caps.
The tutorial was very good! It was very interesting to see all kinds of machines used to sew a single cap. The person said that the cap can also be sewed on regular sewing machine though so I got curious about it.
The cap pattern is available for USD1.5 on a website called Cap Supply co. that also sells caps and various cap making supplies. It was the first time I have ever heard of this company! And as far as I know, I have never seen anyone making a cap that really looks like a store-bought ones.
The company also has several other cap patterns such as the most ordinary six panels baseball cap pattern, Dad cap pattern (I don’t know what the difference is with the baseball cap), even visor cap and ponytail cap pattern. I didn’t know there are so many types of caps! I bought the 5 panel Camp Cap pattern because the seamlines look very interesting.
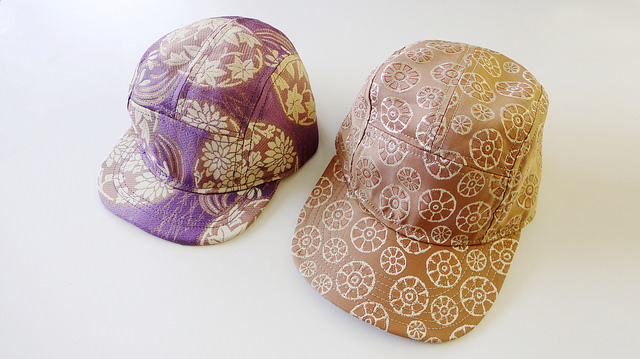
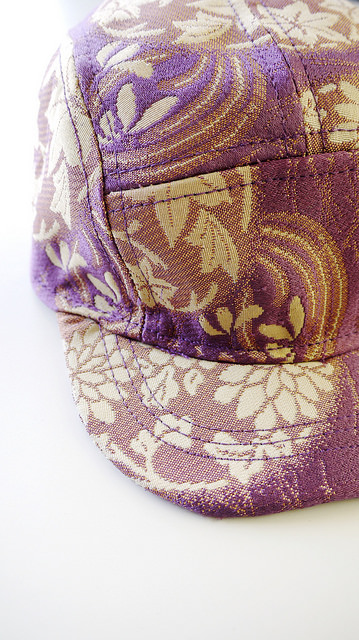
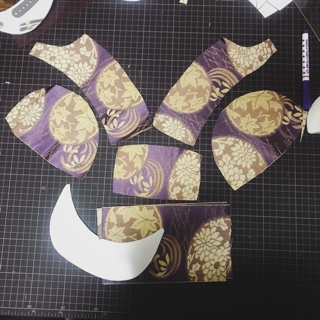
A friend of mine gave me several kimono and obi fabric that I have planned to refashion. Obi is the belt used for kimono, the fabric is usually stiffer than the kimono and it has many interesting embroideries. So instead of using canvas fabric like a proper cap, I went straight into cutting my beautiful obi fabric. Life is too short for boring fabric!
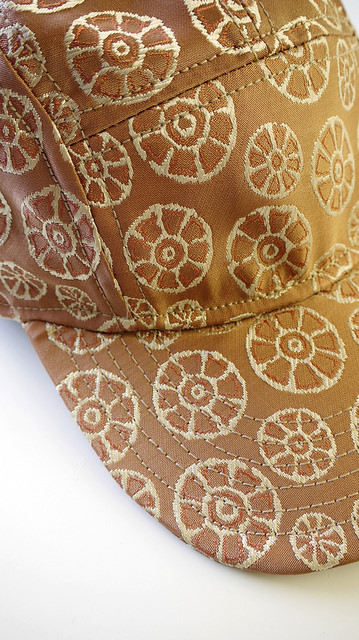
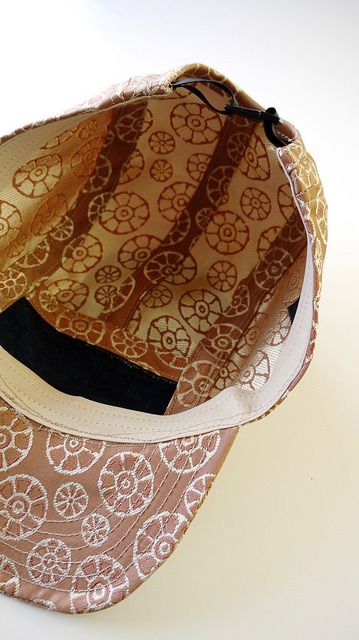
Constructing the head part was very easy. The pieces are small so it came together quite fast. All the seamlines are covered with bias tape on the inside, topstitched on either side of the tape. In the tutorial video, they used an attachment to double stitch sewing machine so the process was quite fast.
Instead using store bought brims as recommended, I used a plastic sheet that is specially used for cap brims. I cut the shape of the brims and inserted it between the fabric brims. I used industrial sewing machine to topstitch the lines across the brims, it’s a very strong machine so there was no difficulties at all. I’m not sure that a domestic sewing machine can be used for this.
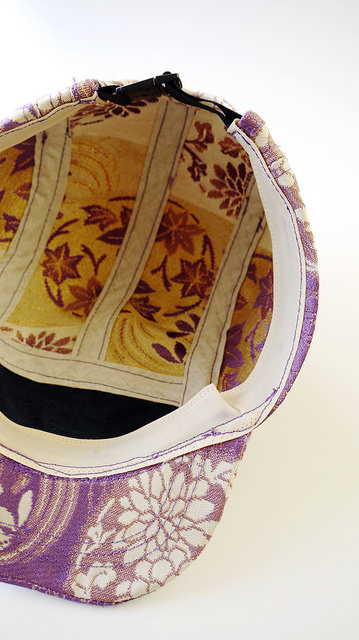
Attaching the brim to the hat part was difficult. But the most difficult part was sewing the sweatband to the hat! In the video they used a special sewing machine that makes it quite easy. I found their old video where they still used a regular sewing machine that convinced me that it can be done. I stitched and unstitched and stitched and unstitched so many times! You can see above my wavy sewing lines around the brim part. Oh well, experience will make it perfect I guess.
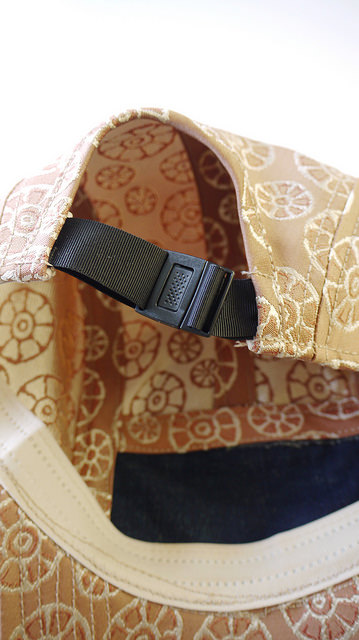
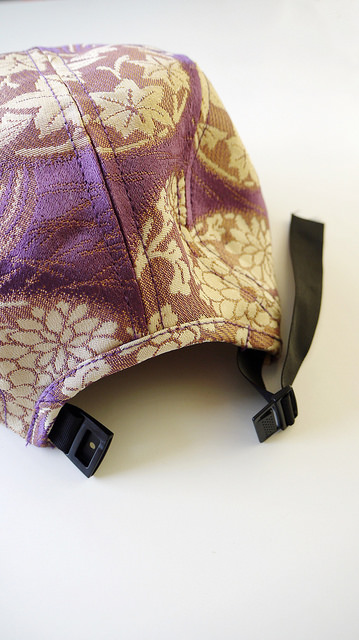
There are several back closure options, I use plastic closure and nylon straps. The end of the strap can be inserted back into the hat so they don’t dangle around.
It is best to steam the cap after finished to shape the hat. In the video, they used a wooden form to place the hat for steaming. I just used my regular tailor’s ham. It was quite a maneuver to steam all the seam lines but it can be done!
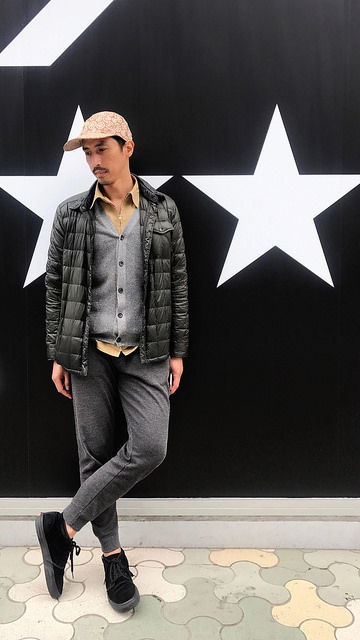
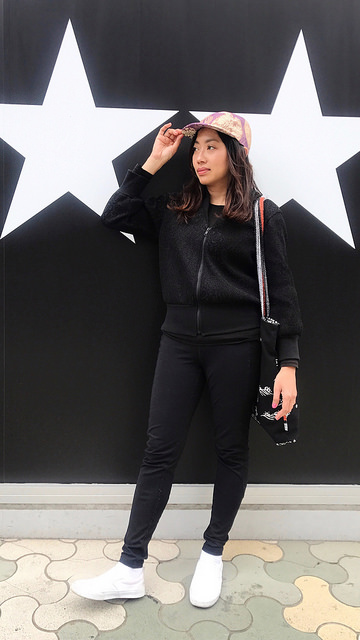
I made the gold cap first and it was way too big for my head. My husband loves it though! For the purple one, I printed the pattern at 93% so it would fit my head. The circumference of my husband’s head is 58 cm while mine is 54 cm. 54 divided by 58 is 0.93 and that’s where 93% came from.
I found that I really love making these caps! I love how the small pattern pieces have quite strange shape and how they come together slowly to form a cap.
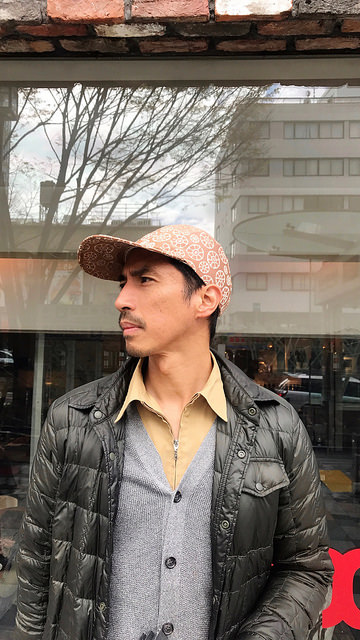
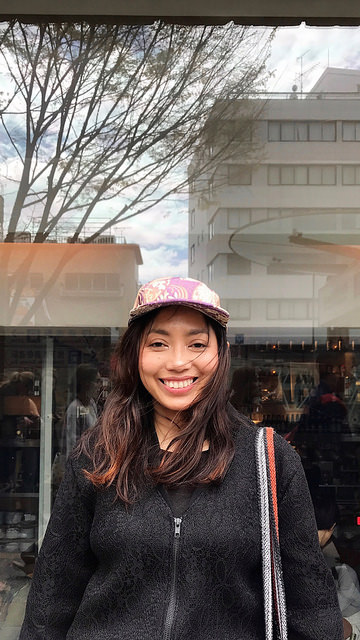
Here we are in Harajuku wearing my handmade obi caps!
-
- Pattern is 5-Panel Camp Cap Pattern by Cap Supply co. (PDF) – the purple one is printed at 93%.
- Old tutorial video is here
- Updated tutorial video is here