
Bag dimensions in approximate:
- from top of straps to bottom of bag: 50 cm / 20 inches
- height: 28 cm / 11 inches
- width: 40 cm / 16 inches
Fabric needed:
I don’t know because I used leftover fabric for my bag. You can print the pattern and place it on your fabric to make an approximation. It is only one piece of pattern.
Fort similar bag, you can check Charlie bag by Burdastyle ($1.99). It is a bit bigger and has squared bottom.
Please go to the bottom of this post to download the PDF pattern and tutorial.
Disclaimer: You may use the finished products for both personal and commercial use (craft shops or markets only – no mass production). Please do not pass off the pattern and tutorial as your own. Thank you!
The Tutorial
1. Here is 4 pieces of fabrics after being cut. We’re gonna refer them as set A and set B. If you want pockets, sew them before going to the next step.
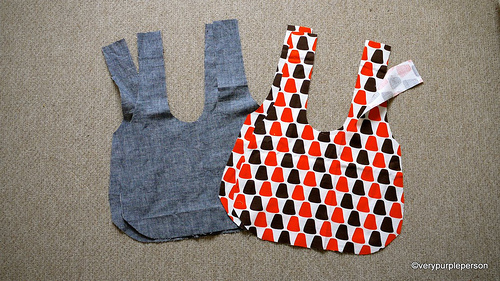
2. Sew the bottom and sides of each set. My bag has a rounded bottom and a dart, Charlie bag has straight edges.
If you use my pattern, sew the darts before sewing the bottom and sides of bag. My apology for not showing how to sew the darts, please do a google search if you don’t know.
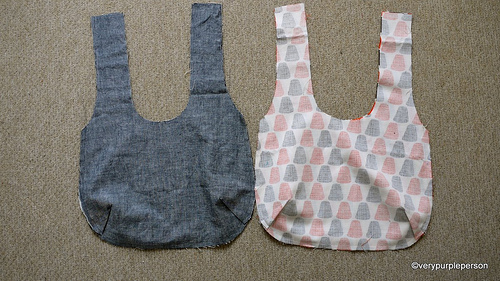
3. Put set B in set A, right sides together, and sew around the straps. Stop stitching about 20 cm before the tops of the straps. If your machine has reverse stitch, use it on each end of stitchings to secure it.
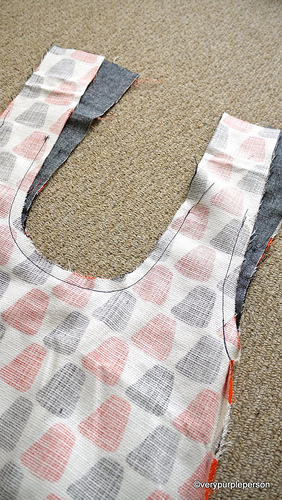
4. Clip rounded corners.
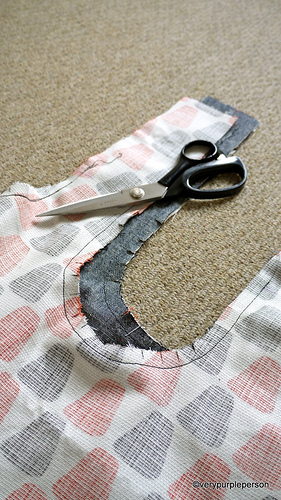
5. Turn the right sides out through one of the straps. It will be a bit difficult at first and you’re gonna wonder if you’re doing it right, but just keep doing it. You will feel a thug and after that the bag will turn right sides out smoothly.
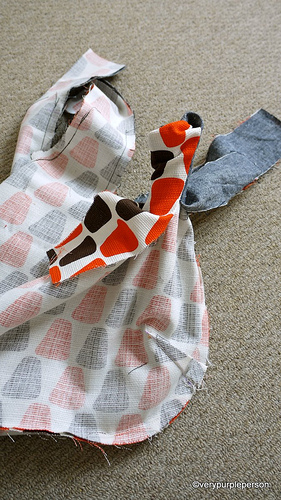
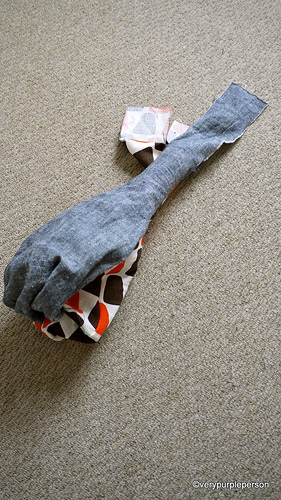
Pull out each of the remaining straps.
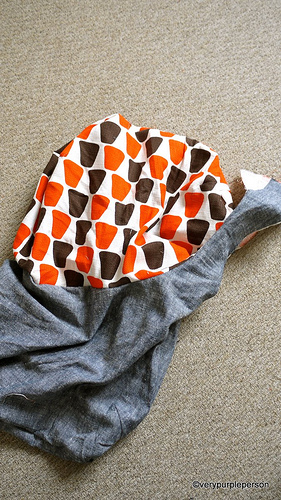
6. Look! You almost have a bag!
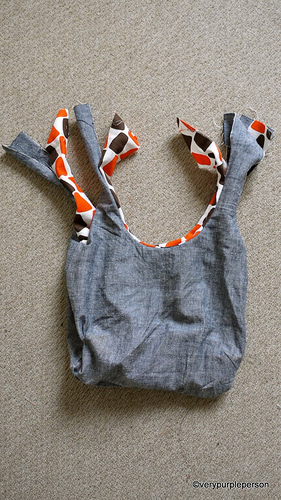
7. Sew the straps of each set together. I often sew the straps absent-mindedly and then found out that I’ve attached them wrong! So please make sure that you sew each strap to the strap beside it, NOT the strap that is in front of it.
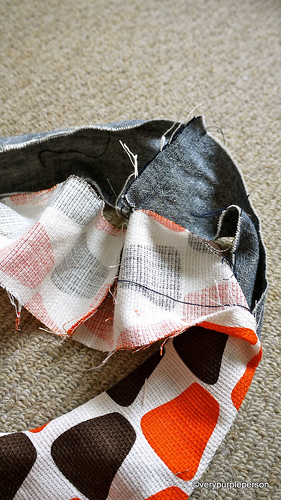
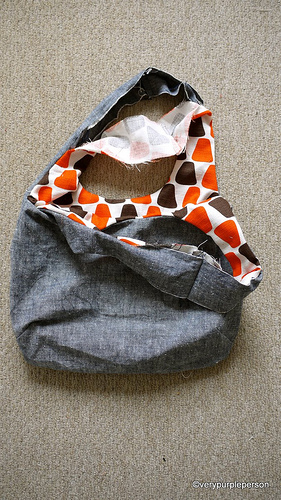
8. Press the seams open. Fold seam allowances on straps and press. Also press edges of bag to make it easier for topstitching.
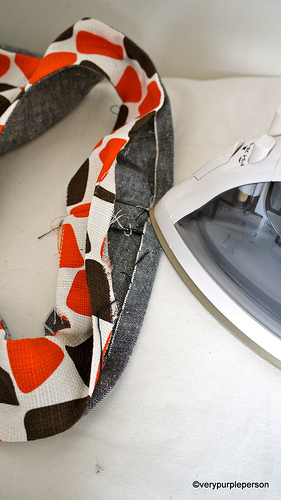
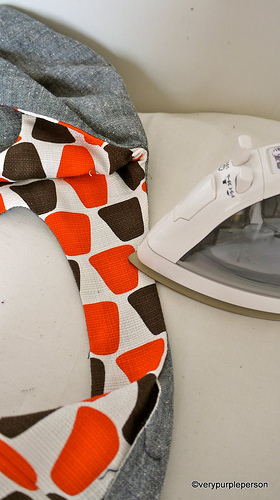
9. Match the tops seams together and pin all open edges of straps. You can also use fusible tapes to make sure it is neat. But I will use pins here.
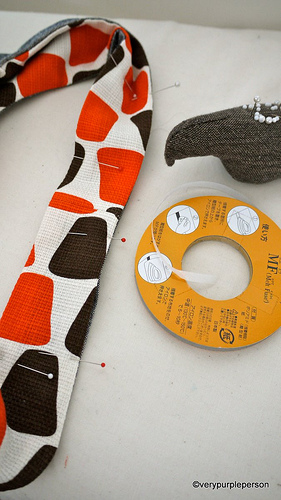
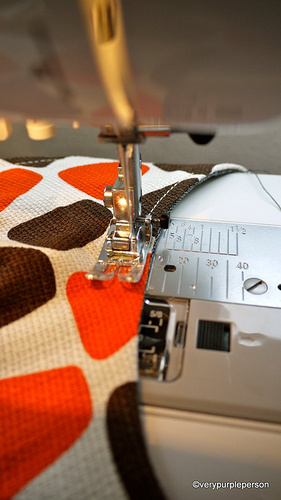
10. Topstitch all edges of bag. I use different colour thread for the bobbin.
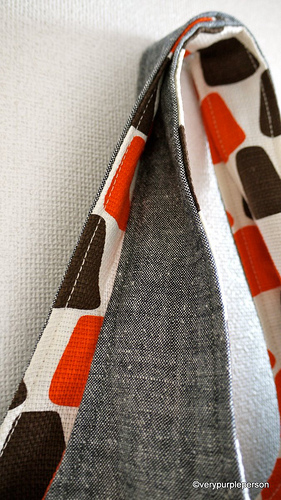
A reversible bag!
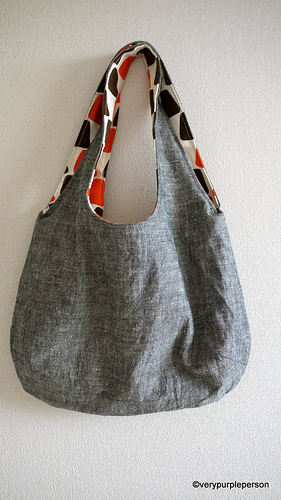
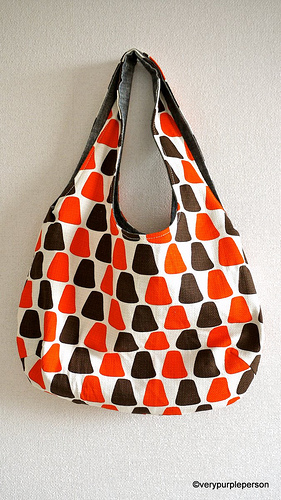
Thank you for reading and I hope this post is useful for you!
Click to download:
REVERSIBLE BAG PATTERN
REVERSIBLE BAG TUTORIAL


421 Comments
Thank you so much for the tutorial (and for my new bag!). Have a look how mine turned out on my site tomorrow!
Love your designs!!
Thank you for this tutorial! I thought it was about time I left a comment as I have made so many of these bags for gifts and everyone loves them. It’s a winner!! Next I hope to get onto your bib dress one day!
Can you explain how to do the darts better? Do you cut them when first cutting out the pattern pieces or do you just mark where the darts go and sew them without actually cutting the pattern piece. Does that makes sense? Thank you.
Amber, I just pin the darts where she has marked on the pattern and it seems to work without cutting. Mind you my darts on each side don’t always line up but that’s probably my dodgy sewing. Very purple person, would love your advice!
I love this bag!!! Of course I joined the straps together wrong :p Ah next time I’ll get it right.
Hi
I love your pattern. I have linked to it on my blog – http://alittlebirdmademe.wordpress.com/2013/06/01/list-of-30-free-bag-tutorials-and-patterns/
Thanks for sharing it with us.
Thanks for a great tutorial!
It is just what I was looking for and am going to make it today!
Thanks soooo much. Im addicted to sewing this reversible bag and to your blog. I like the suprise i felt when i turned the right sides out.Keep up the good work.
From Kenya with lots of love!
Thank you so much! I might use this pattern for my own bag.
How much fabric is needed for this project?
I’d like to make this bag, but I’m not sure what fabric I should use. I’m planning on taking it on trips and I don’t want it to tear easily. What fabric did you use?
thankyou…..I will try it!
thankyou forse the Pattern! I will try it very soon!
Thank you so much for a great tutorial. I made one for a fundraising project. Have a look here http://www.silklaceandsteel.com/reversible-bag/
This bag is in my opinion THE gift idea for friends! They love the bags and I have a fun time making them. I enlarged the pattern so the bags could be used as beach bags. So perfect! The instructions are very easy to follow and at the beginning I needed about 3 hours to make one and now I am down to about 2 hours! Here is an example of one of the bags I have completed: http://www.craftideas.info/html/reversible_bag_p.html
Hey there. I love the bag and have started making it, but appear to be “stuck”.I have the 4 pieces cut and the darts are sewn. The directions are a little vague after that. I’m wondering if you might be interested in taking a few more pictures of what happens after you have the darts done. I know the same type fabric goes wrong side together, but it doesn’t say how far to sew the bag…do you go all the way up the outside of the bag to the top of the strap….
I’d really love to “get” this, but I think I’m gonna need more pictures. Do you think its possible to mabey “whip” up another bag and give us more details???
You would be doing a whole bunch of us a huge favour!
thanks bunches,
Debora Cadene.
Actually…I’d sure appreciate help from any of you gals n guys that have made this
Hi Debora,
I making one right now. First time, so I’m trying it myself. I stitched the big outside “U” good sides togehter. Then turn one set good side out. Put the two sets in each other, now you cant see te good sides of fabric any more.
Stitch small “U” and outside of straps, exept for the top 15 a 20 cm and the top of the straps. Then pull the right sides out. Continue as showed above.
Hope this works for you.
Greetings,
Veerle.
Hi Debora! I agree the instructions are a little vague for a beginner (like me). I think I have it figured out though! Once you have the 4 pieces cut and the darts sewn, pin together set A and B separately with wrong sides together. Make sure the darts are lined up before you sew. Then sew set A around the bottom and set B around the bottom. Take set A and turn it so the right side is out. B should still have wrong side out. Place A inside B. Pin around the opening. You should be pinning A-1 to B-1 and A-2 to B-2 this time. Then sew around the straps, tucking away whichever half you are not working on. I think the instructions are pretty clear after that. Hope that helps!
thank you for sharing this free pattern for purse! It was super easy, your download for pattern and directions was so easy to follow. First time making a purse, definitely won’t be my last! These would make great gifts for friends and family! Thanks so much!
Thank you finally manage to sew reversible bag
Thank you! Can’t wait to make my bag!
I am a beginner. No problems with darts but can’t get the step 4 and 5 right. Do you sew all the straps together or leave open space between the two sets? I have sewn it both ways, and both times the bag is sewn shut at the top when I turn it through the strap. About to give up and remove this pin. HELP!!!
thank you for this tutorial…to me (trying to learn how to sew) it worked magically!!! I now have my “very purple hand bag”…thanks so much… i send you a bit of the greek sunshine… spring is coming to Athens…kisses Katerina
This is confusing! I don’t understand where to sew it! I don’t understand step 4 or 5!!! I don’t understand how to do this! :(( all this inside out, how many layers to sew, all 4, or just 2? This is confusing!
As I usually like to use something functional for Easter baskets, I’m making Easter “bags” for my 5 granddaughters. One side is a sparkly Easter fabric with a solid for the reverse side. Really cute & something they can use all year! Thank you!,
EU QUERIA MUITO BOLSASA COISAS QUE EU POSSA FASER PARA VENDER,OBRIGADA.
Love this bag! Thank you for a great tutorial!
Thank you so much for this pattern and explications.