
Bag dimensions in approximate:
- from top of straps to bottom of bag: 50 cm / 20 inches
- height: 28 cm / 11 inches
- width: 40 cm / 16 inches
Fabric needed:
I don’t know because I used leftover fabric for my bag. You can print the pattern and place it on your fabric to make an approximation. It is only one piece of pattern.
Fort similar bag, you can check Charlie bag by Burdastyle ($1.99). It is a bit bigger and has squared bottom.
Please go to the bottom of this post to download the PDF pattern and tutorial.
Disclaimer: You may use the finished products for both personal and commercial use (craft shops or markets only – no mass production). Please do not pass off the pattern and tutorial as your own. Thank you!
The Tutorial
1. Here is 4 pieces of fabrics after being cut. We’re gonna refer them as set A and set B. If you want pockets, sew them before going to the next step.
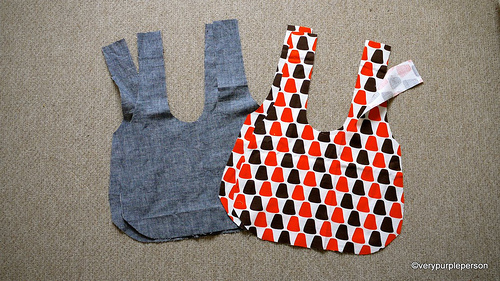
2. Sew the bottom and sides of each set. My bag has a rounded bottom and a dart, Charlie bag has straight edges.
If you use my pattern, sew the darts before sewing the bottom and sides of bag. My apology for not showing how to sew the darts, please do a google search if you don’t know.
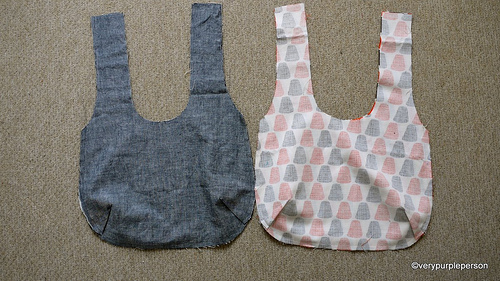
3. Put set B in set A, right sides together, and sew around the straps. Stop stitching about 20 cm before the tops of the straps. If your machine has reverse stitch, use it on each end of stitchings to secure it.
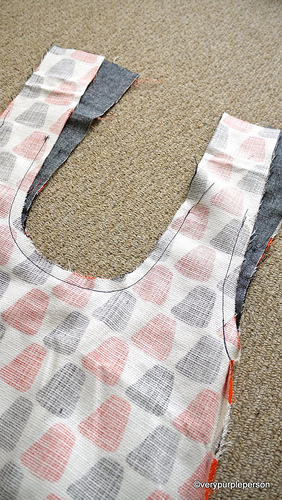
4. Clip rounded corners.
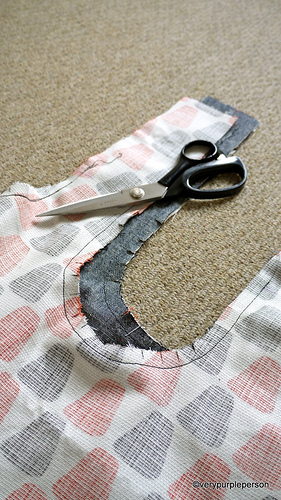
5. Turn the right sides out through one of the straps. It will be a bit difficult at first and you’re gonna wonder if you’re doing it right, but just keep doing it. You will feel a thug and after that the bag will turn right sides out smoothly.
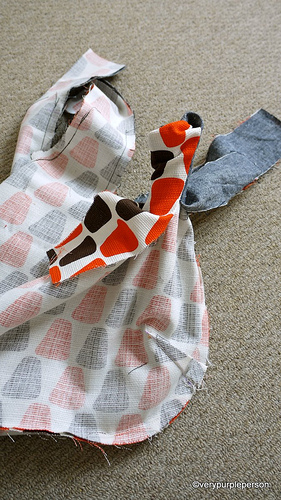
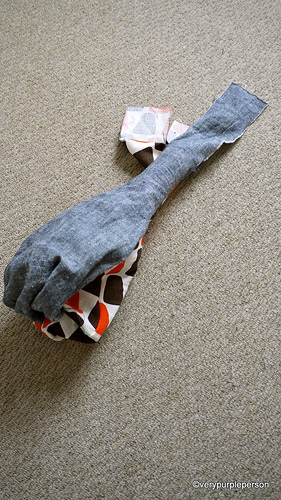
Pull out each of the remaining straps.
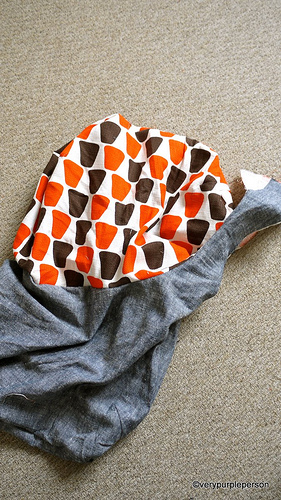
6. Look! You almost have a bag!
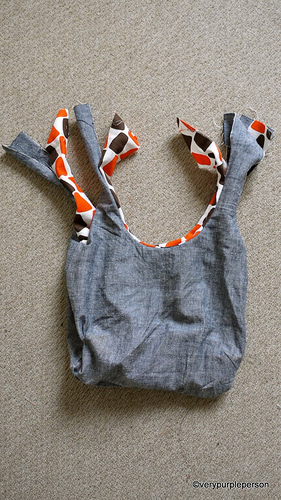
7. Sew the straps of each set together. I often sew the straps absent-mindedly and then found out that I’ve attached them wrong! So please make sure that you sew each strap to the strap beside it, NOT the strap that is in front of it.
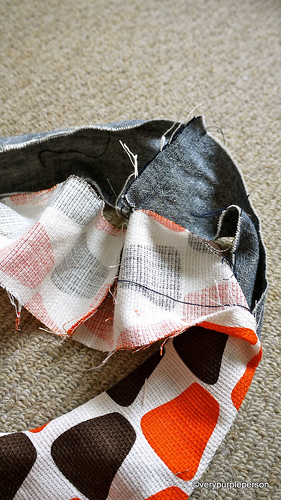
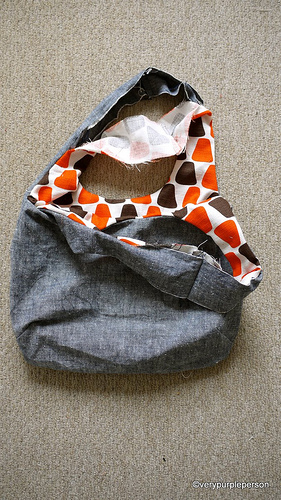
8. Press the seams open. Fold seam allowances on straps and press. Also press edges of bag to make it easier for topstitching.
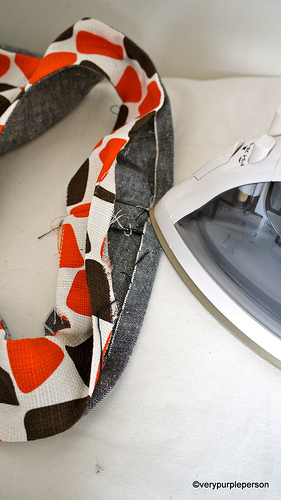
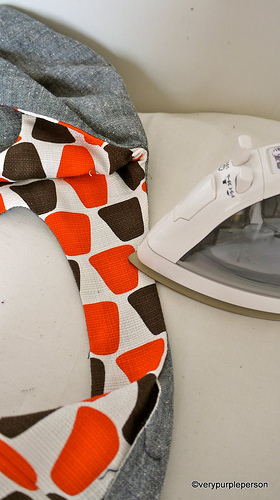
9. Match the tops seams together and pin all open edges of straps. You can also use fusible tapes to make sure it is neat. But I will use pins here.
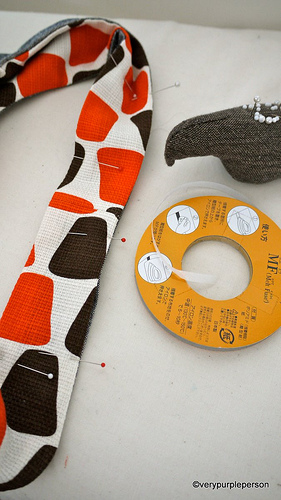
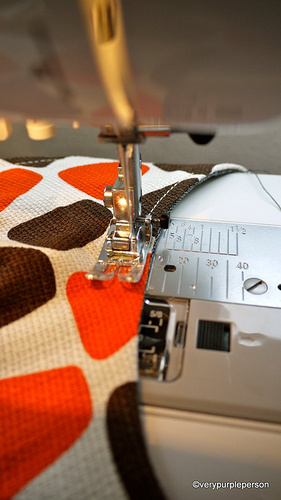
10. Topstitch all edges of bag. I use different colour thread for the bobbin.
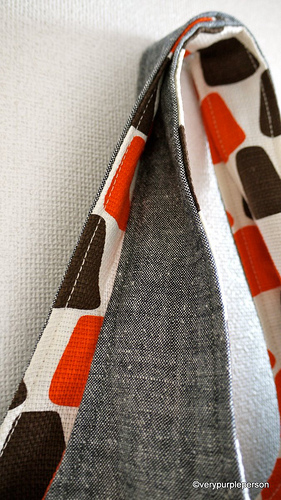
A reversible bag!
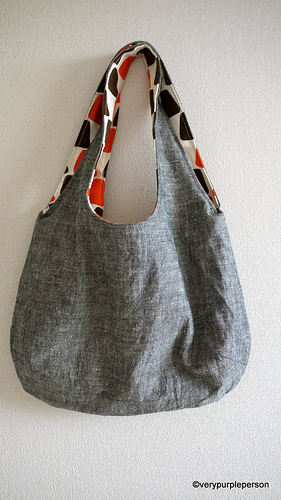
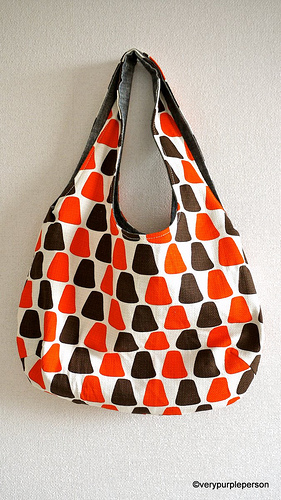
Thank you for reading and I hope this post is useful for you!
Click to download:
REVERSIBLE BAG PATTERN
REVERSIBLE BAG TUTORIAL


421 Comments
nice 🙂
I will try this!
muuuuuuuuuuuuuuuuuuuchas gracias por compartir lo intentare y te enviare fotos!gracias!
Thank you so much for the tutorial and the very helpful instructions.
Merci pour ce superbe tuto. J’ai une petite boutique au centre de la France mais promis je ne vais pas en faire une grosse production. ;0)
I am a beginner and had trouble with the darts. When I pulled my bag through the straps and shaped it, it just didn’t look right. Any tips on sewing the darts and shaping the bottom of the bag when completed? Thank you!
I made this bag tonight and i have to say that it was easy except for the part of turning it inside out. What i did different was i left an opening at the bottom of one of the bags and it was a lot easier to turn it inside out and then i just slip stitched the opening closed. The other thing that i wish i had done is before turning it right side out is to clip the rounded corners so that when you do turn it right side out that the corners lay flat for when you top stitch. It’s really cute when you get done, i love it.
Thanks so much for sharing this! I can’t wait to make it! love love love it!:)
Thank you so much for the clear directions i cant wait to make this!
Thank you so much!!!!!
Have just made a reversible bag and am delighted with it! Excellent pattern and instructions. One problem, I just couldn’t get the bag through the strap to turn it inside out, so I opened one strap down the side and sewed it up afterwards – invisibly! Thank you for a great pattern.
I am making similar handbags but I am putting a zipper in the top of it, my problem is I can’t figure out the best way to put a reversible zipper in so I can still make the bag reversible. Can anyone help? Thanks.
[email protected]
Thanks for the tutorials Novita!
Ronda I’d use a reversible zipper, you can find them at online craft stores. Hope that helps!
Thank you so much for the tutorial and free pattern. Im a beginner sewer and couldn’t believe how easy your directions were. It turned out fantastic. Thank you so much!!
I plan on using this pattern, thanks for sharing! I can’t seem to find any place that tells how much fabric is needed for each part though… can you tell me?
I printed the pattern and measured from there. Turned out really nicely!
fantastic, thanks can’t wait to sew myself a new bag with fabrics i have collected for a while
I just made this bag today with fabric that my son brought me from Sweden. The directions were clear and concise and it came out just as you’ve pictured it. Thank you for the pattern. I plan on making more as gifts.
I meant prewash, dang predictive speller
Do you per wash the fabric? I think not washing would give a crisper look, but one might need to was the bag after some use and maybe not like the result?
merci beaucoup !!!!!!!!!
I just made two of these as gifts for my sisters. They look great and only took a few hours. Thank you for the detailed instructions!
I just made one for my daughters’ stuff when they go to the babysitters and it only took about 3 hours from start to finish! I love it! I will definitely be making more for my kids and my self and my friends and for the car and for my knitting….
Thanks very much for putting that free reversible bag pattern on your webpage/blog. I found it via my sister’s Facebook page. The timing was brilliant as I was looking to make two or three bags for Xmas presents and had looked in the haberdashery shop in the City and could not find the type of bag I had in mind, and then it turned up like magic in a post in my email from my sister. I have only started sewing again as my eldest daughter has shouted me a new sewing machine for my birthday. So thanks again for the pattern and the very helpful instructions, and I will only be using it for personal reasons like presents for friends and relatives. Cheers and Happy Xmas and New Year from Maureen King in Sydney.
hello mba novita,
izin download tutorialnya ya… makasih 🙂
salam,
yuli
Gosh it always makes me feel terrible when these craft bloggers’ stuff turns out perfectly and mine looks decent, but not NEARLY as nice as theirs! AHH I’m so jealous! I’ve got to keep practicing!
very nice work from you
very nice