
Bag dimensions in approximate:
- from top of straps to bottom of bag: 50 cm / 20 inches
- height: 28 cm / 11 inches
- width: 40 cm / 16 inches
Fabric needed:
I don’t know because I used leftover fabric for my bag. You can print the pattern and place it on your fabric to make an approximation. It is only one piece of pattern.
Fort similar bag, you can check Charlie bag by Burdastyle ($1.99). It is a bit bigger and has squared bottom.
Please go to the bottom of this post to download the PDF pattern and tutorial.
Disclaimer: You may use the finished products for both personal and commercial use (craft shops or markets only – no mass production). Please do not pass off the pattern and tutorial as your own. Thank you!
The Tutorial
1. Here is 4 pieces of fabrics after being cut. We’re gonna refer them as set A and set B. If you want pockets, sew them before going to the next step.
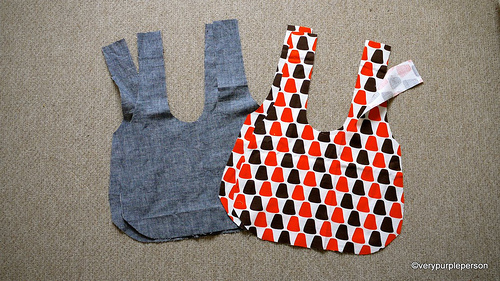
2. Sew the bottom and sides of each set. My bag has a rounded bottom and a dart, Charlie bag has straight edges.
If you use my pattern, sew the darts before sewing the bottom and sides of bag. My apology for not showing how to sew the darts, please do a google search if you don’t know.
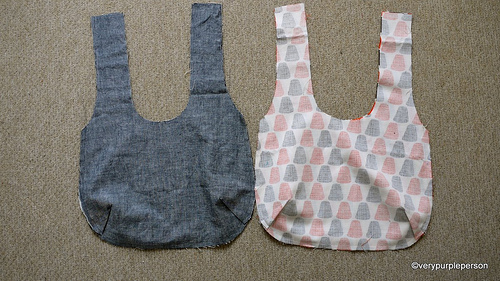
3. Put set B in set A, right sides together, and sew around the straps. Stop stitching about 20 cm before the tops of the straps. If your machine has reverse stitch, use it on each end of stitchings to secure it.
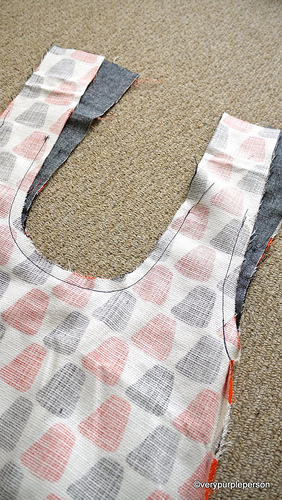
4. Clip rounded corners.
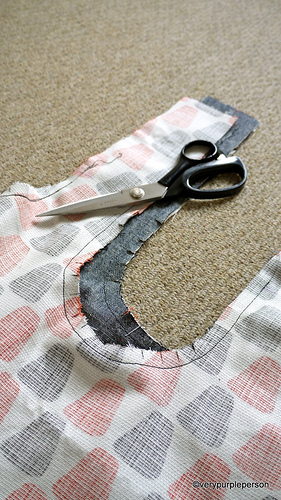
5. Turn the right sides out through one of the straps. It will be a bit difficult at first and you’re gonna wonder if you’re doing it right, but just keep doing it. You will feel a thug and after that the bag will turn right sides out smoothly.
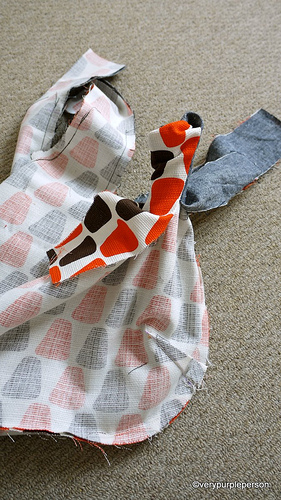
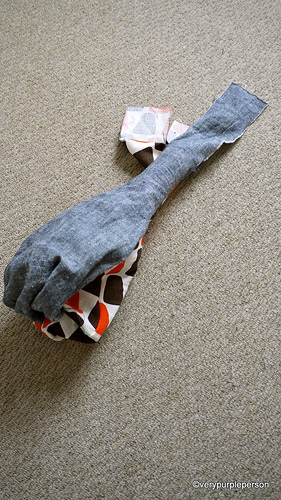
Pull out each of the remaining straps.
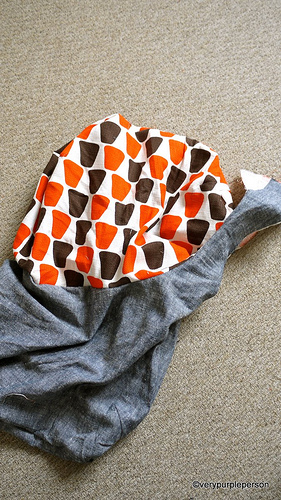
6. Look! You almost have a bag!
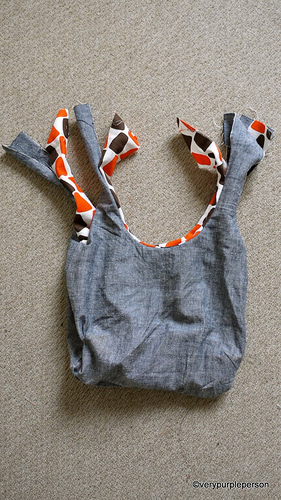
7. Sew the straps of each set together. I often sew the straps absent-mindedly and then found out that I’ve attached them wrong! So please make sure that you sew each strap to the strap beside it, NOT the strap that is in front of it.
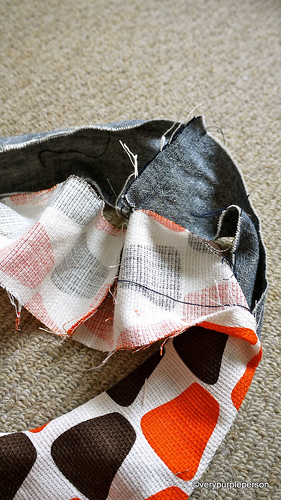
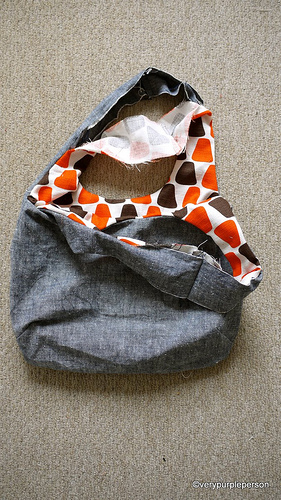
8. Press the seams open. Fold seam allowances on straps and press. Also press edges of bag to make it easier for topstitching.
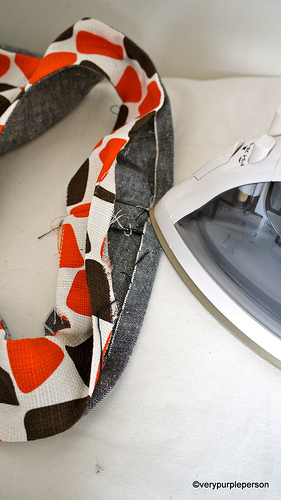
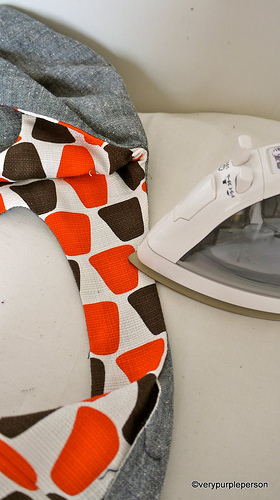
9. Match the tops seams together and pin all open edges of straps. You can also use fusible tapes to make sure it is neat. But I will use pins here.
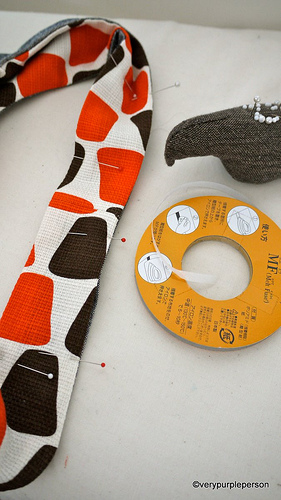
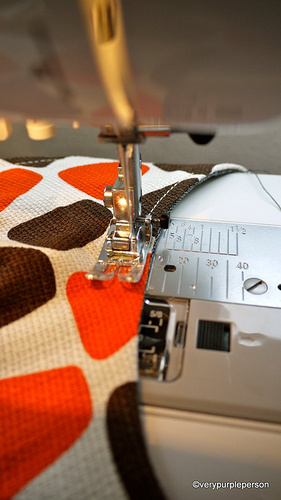
10. Topstitch all edges of bag. I use different colour thread for the bobbin.
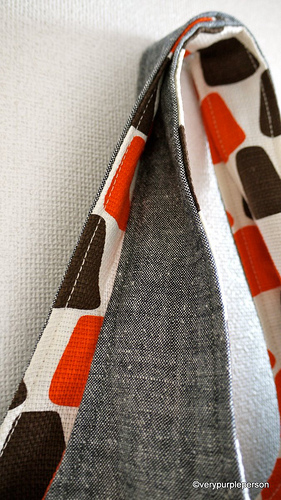
A reversible bag!
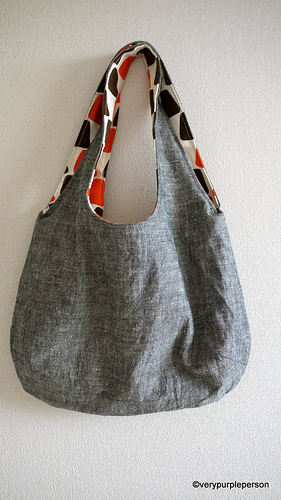
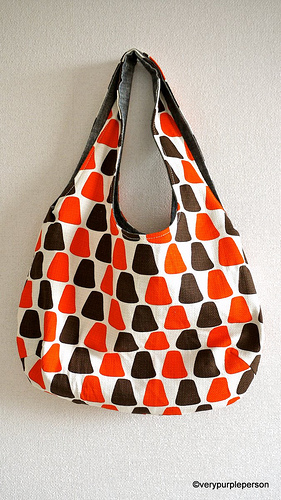
Thank you for reading and I hope this post is useful for you!
Click to download:
REVERSIBLE BAG PATTERN
REVERSIBLE BAG TUTORIAL


421 Comments
Hey, I made me a reversible bag too. I also posted a link to your tutorials on my Blog. I hope you don’t mind. I left them as they were. You made very good instructions. Thanks for making this post. If you would like to, you can see my bag here http://eviesewing.blogspot.com/. Thanks again.
LOVE this bag! The shape and size are absolutely PERFECT for what I’ve needed. Thank you so much for sharing this pattern and tutorial. I posted all about it on my blog if you are interested.
http://mandymousecreates.blogspot.com/2011/04/new-bag.html
Beautiful! I put a link to your page on my blog though my readers are French, I am sure they will enjoy the clear and helpful pictures you took during the process of sewing your bag. I had to translate the instructions and I am sure it was worth it because everyone will love it. Thank you for this wonderful job.
Hello
Would you please tell me which one is the cutting line. The pattern shows to lines,a fine line then next to the fine line is a thick black line? Thank you
Hello,
I am a beginner sewer and I love this pattern! I just have one question about the pattern, it will probably sound stupid but i am new at this stuff… why is the pattern just one half of it? Does that mean that I have to cut double of what it is showing?
OH! I just figured out that on the pattern it says cut fabric on fold! ahh silly me(: Anyway, great pattern, can’t wait to try it out!
Thank you very much !
This bag is at once nice and practice.
Hi Novita!! Just wanted to ask if you could recommend a particular sewing machine brand for me.
I can definitely recommend Janome. I have a sewing machine & an overlocker.
Ah! I made this bag for my mother’s Xmas present, but I’m such a beginner that I accidentally sewed all four layers together during step #3. An impossible bag! After heavy use of a seam ripper, I got it almost right… but still attached the handles backwards. I’m going to leave it like that because it still works that way. Picture here and the other side here.
fabulous bag!
I’m a novice, only a question: why did you cut 2 of each fabric?
sorry, stupid question!
Thank you very much, amazing tutorial!!!
http://feltroaholic.blogspot.com/2010/11/bolsa-reversivel-bolsa-duplaface.html
Carine
I really like this bag that you made. Thanks for the patter and tutorial. I was just wondering if the pattern is true to size or just as a guide? Thanks.
Gorgeous bag and thanks so much for the tutorial! The bag is simple and elegant. My sister says it has a clean look! I am gonna use interfacing and add some pockets. Hopefully I’ll get the chance to try this pattern out and share photos, it’s wonderful!
Thanks again for your time 🙂
I love the pattern and bag! Thank you so much for your generous pattern!! I just posted some photos to the flickr group pool
Thank you. Very neat!
Love your purse! Thank you for the pattern! I wish I’ve seen it before I made a purse… I kinda needed one and I made it using another pattern, but I like yours more!
I made this bag too and my daughter love it. Thanks a lot for your tuto
I made this wonderful bag and posted a picture on my blog…thank you. It is so lovely.
thank you for that detailed tutorial. if i have some time i will try that.
Thank you for the great tutorial !
Thank you very much for this wonderful pattern, I already love the charlie bag and this variation ist so nice. I definitly will sew a lot of them! Thank you very for sharing this pattern!
Greetings from Germany!
Oh my god I love it sooooo much!!! I sewed it today and I’m in love with my new bag… I modified it a bit by using longer straps and a bigger bag itself. Now I have my own perfect bag 🙂
Thank you for your generosity in providing us with this wonderful pattern and detailed instructions. I’ll post something on flickr once I have made one.
Cheers!
Thank you for the tutorial! I made this bag last week. It turned out great, but just a little too small for me!! Will make another one soon. I’ll slightly enlarge the pattern next time. Thank you so much!!
Hello, Verypurpleperson))I liked all your creations that connected with the sewing(I have found a lot of them on burdastyle.com). And this bag is so simple and so fabulous!!!Great job,and you that you shared it to all of us.
I just have one question about the pattern – whan does 1.5cm\5\8 means?and whan should I do witn these figures?
Hi Anastasia, they are the width of the seam allowance, which is 1.5cm OR 5/8 inches. Please see this link: http://en.wikipedia.org/wiki/Seam_allowance to know what seam allowance is.
Thank you!
Hi there, a wonderful VeryPurplePerson! Thanks so much for the tutorial! It was a pleasure to follow it and an even biger pleasure to see the result! I made a flower from the remaining fabric and pinned it to the front. I’ve posted some photos on my blog if you’d like to see: http://headfullofribbons.wordpress.com/2010/06/28/reversible-bag/
Thanks again!
Fabulous bag with cute flower! I see that you attached the straps in different way, it looks like a Japanese style bag now! Glad that the tutorial is useful for you 🙂
Oh my! I did not do it on purpose! In fact, I noticed it only after you pointed it out. Silly-billy me. Well, I’ll just have to pretend it wasn’t a mistake but a design intended =) Thanks again for the tutorial! Next time I’ll follow it more closely…