
Bag dimensions in approximate:
- from top of straps to bottom of bag: 50 cm / 20 inches
- height: 28 cm / 11 inches
- width: 40 cm / 16 inches
Fabric needed:
I don’t know because I used leftover fabric for my bag. You can print the pattern and place it on your fabric to make an approximation. It is only one piece of pattern.
Fort similar bag, you can check Charlie bag by Burdastyle ($1.99). It is a bit bigger and has squared bottom.
Please go to the bottom of this post to download the PDF pattern and tutorial.
Disclaimer: You may use the finished products for both personal and commercial use (craft shops or markets only – no mass production). Please do not pass off the pattern and tutorial as your own. Thank you!
The Tutorial
1. Here is 4 pieces of fabrics after being cut. We’re gonna refer them as set A and set B. If you want pockets, sew them before going to the next step.
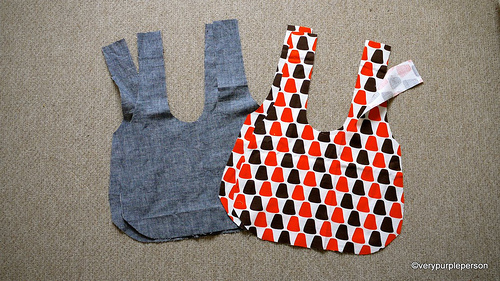
2. Sew the bottom and sides of each set. My bag has a rounded bottom and a dart, Charlie bag has straight edges.
If you use my pattern, sew the darts before sewing the bottom and sides of bag. My apology for not showing how to sew the darts, please do a google search if you don’t know.
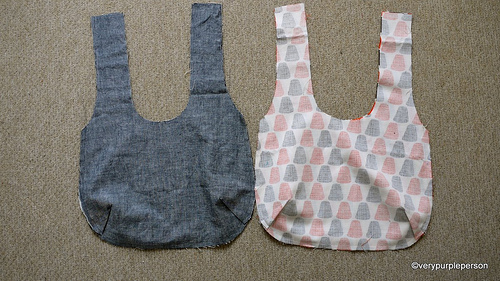
3. Put set B in set A, right sides together, and sew around the straps. Stop stitching about 20 cm before the tops of the straps. If your machine has reverse stitch, use it on each end of stitchings to secure it.
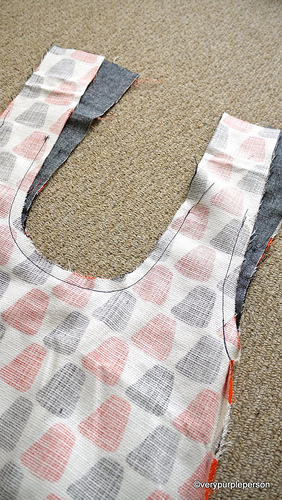
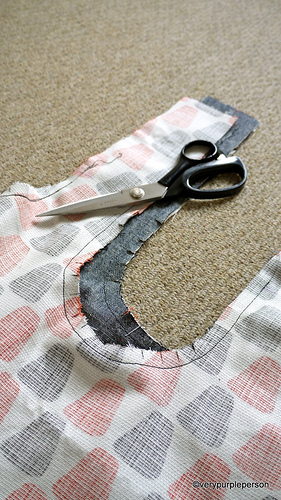
4. Clip rounded corners.
5. Turn the right sides out through one of the straps. It will be a bit difficult at first and you’re gonna wonder if you’re doing it right, but just keep doing it. You will feel a thug and after that the bag will turn right sides out smoothly.
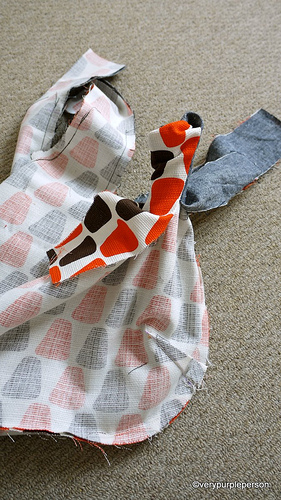
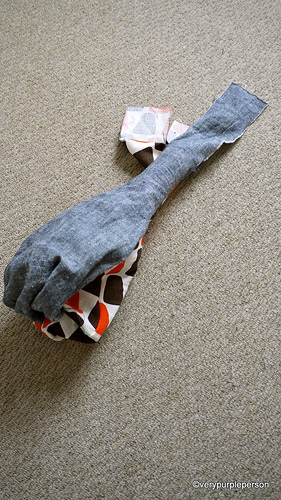
Pull out each of the remaining straps.
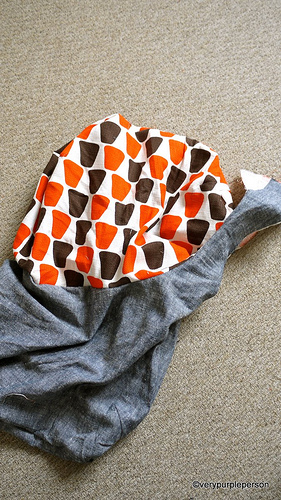
6. Look! You almost have a bag!
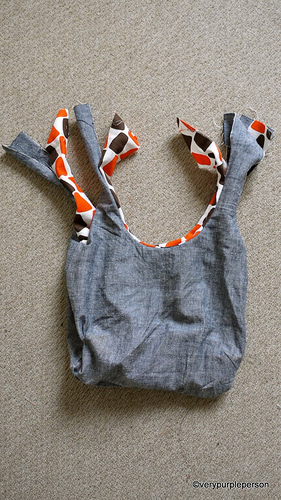
7. Sew the straps of each set together. I often sew the straps absent-mindedly and then found out that I’ve attached them wrong! So please make sure that you sew each strap to the strap beside it, NOT the strap that is in front of it.
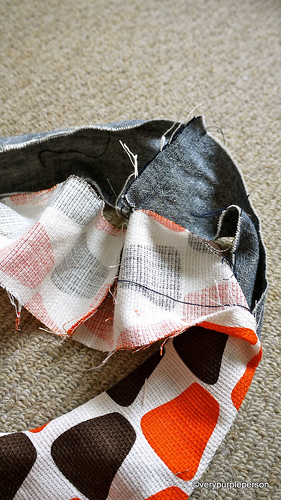
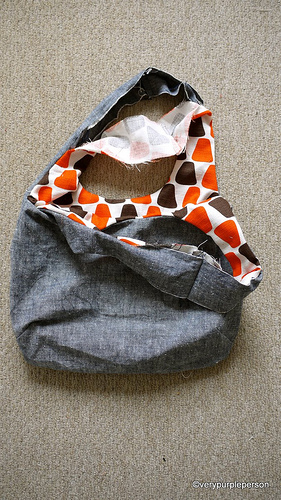
8. Press the seams open. Fold seam allowances on straps and press. Also press edges of bag to make it easier for topstitching.
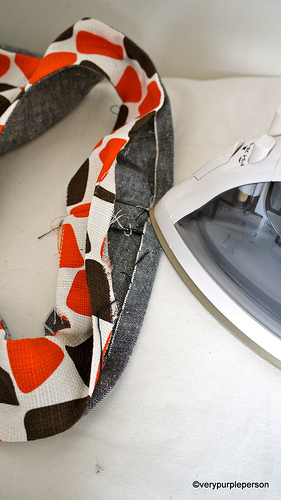
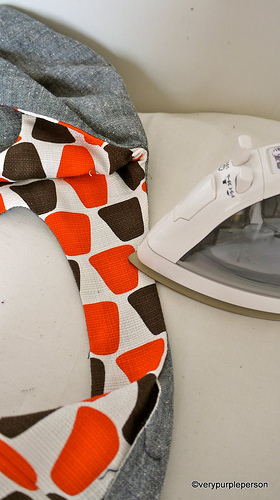
9. Match the tops seams together and pin all open edges of straps. You can also use fusible tapes to make sure it is neat. But I will use pins here.
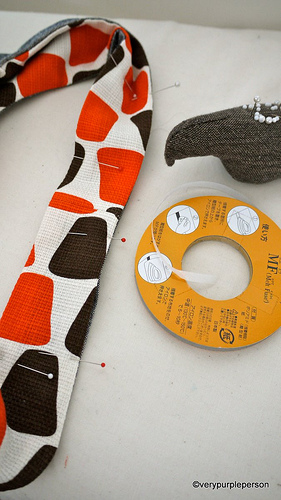
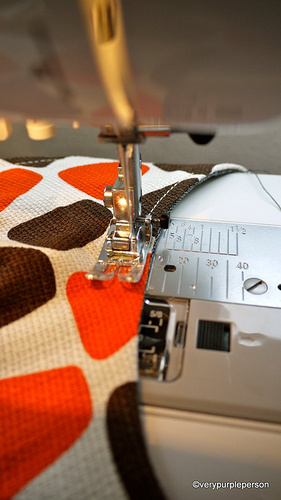
10. Topstitch all edges of bag. I use different colour thread for the bobbin.
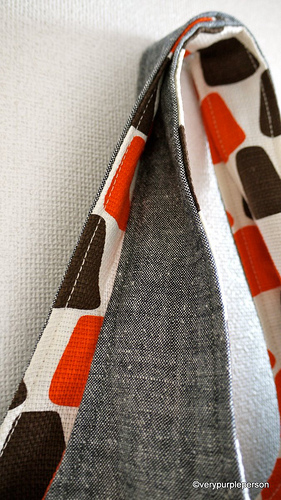
A reversible bag!
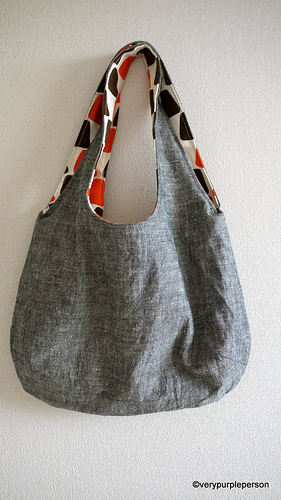
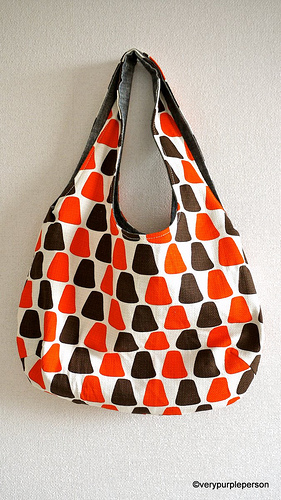
Thank you for reading and I hope this post is useful for you!
Click to download:
REVERSIBLE BAG PATTERN
REVERSIBLE BAG TUTORIAL


421 Comments
Can anyone who made this bag please tell me how many darts total you made? She starts with a total of 4 pieces, so is it 2 for each piece, equaling a total of 8 darts? Please and thank you!
This is my bag. The tutorial is great. Make sure you read the entire tutorial before doing anything. I made an error with the handles but when I reread I saw the warning. Thanks for the tutorial
Pingback: Kleine Wendetasche – Ideal für Beginner & super schnell genäht! / creative-little-things.
Pingback: August WIPs and FOs | NICOLA KNITS
Pingback: Februar-Tasche | Die kleine Schneiderei
Pingback: In der Weihnachtsschneiderei | SisterBloom
I have no idea how anyone used this tutorial and got it right on the first time. I have made so many mistakes – wrong sides touching each other, wrong material on each, etc. Only after I make the mistake do I see the slight instruction in the tutorial. On a popular tutorial, you may want to rewrite it to make it more clear. For example instead of just having a picture showing that right side goes to wrong side in the first place, write it out so it is more obvious. Normal sewing puts right side to right side so it’s easy to make the mistake if you aren’t scrutinizing the picture. Especially since one of your fabric appears to be the same on both sides! I’m very sad that I basically have two purses now with no insides.
There is no right side goes to wrong side in this tutorial, everything is right sides together.
Yes. I was confused by some of the comments and even went back and looked at the pictures to make sure I knew what I thought. 😉 The instructions are very clear. Thanks for sharing this bag!
I agree. The directions are not clear at all for a person who is not a seamstress. The first bag I made was ripped apart on numerous occasions and it took several hours to complete. When you say put one bag inside the other with right sides together, say turn one bag out so the right side is on the outside. If you say “sew the handles together”, it just needs to be really clear exactly what that means. It might seem silly to have to be so specific, but there are people with varying degrees of expertise who will be looking at your pattern. I did everything wrong the first time. Once I figured it out, I was able to make a second bag with no problems. I love it, though and glad I stuck with it. They are really cute.
Pingback: KMH Creations | Day 12: Reversible Purse
hey, i love this pattern. haven’t sewn it up yet, but it looks easy enough. i have decided to make 3, one for each of my son’s teachers. in do have one question, which line do i use to cut the pattern out? or is that outside line the seam allowance?
Is the pattern still available? It’s not showing up for me!
I stitched this bag yday. I am a very beginner in sewing. This is my second project. I had only one issue. The inside layer when pulled out has the wrong side of the fabric. So, in step 3, when I put the bag inside the other bag, should they both be right sides together or should the inner bag be wrong sides together? Please clarify. Other than that, it came out so well. got lot of compliments 🙂 thank you for the pattern.
hi, you should put the bag inside the other bag so that the right sides are together!
Thanks so much for this pattern! It is awesome! I’ve made the basic bag, one with a zipper inside and out, and now I’m making a cross-body, non reversible (due to all the pockets) version. Your instructions are clear and the result is fantastic for a beginner like me! (Excuse the hubs. He was a very patient model.)
Thank you! I will be trying this very soon.
I found this bag on Pinterest and love it! Just finished mine and it was kind of my first real bag, thanks!
Love this bag! I’m a real beginner at sewing but I made this in a couple of evenings after work – will be making more!
Thank you from French Polynesia!
Thanks for your very clear instructions with pictures to back them up.
Four years later, and I am so thankful your tutorial is still around :)!!
Thank you very much for the tutorial. Here is my reversible bag! http://scrapaboom.canalblog.com/archives/2014/08/29/30481732.html
Thank you!! for sharing the pattern, and for the clear instructions. I’ll definitely try this. 🙂
I just wanted to thank you for the pattern (reversible bag) and say – what a lovely blog!
This is awesome! I have always wanted to make a handbag!
I can’t wait to make one of these! It would make an awesome knitting bag. 🙂
Thank you for sharing 🙂
Thank you for this pattern! I’m a beginner and did this bag last weekend (my very first bag!). Good instructions easy to follow, and the bag is really nice!