
Bag dimensions in approximate:
- from top of straps to bottom of bag: 50 cm / 20 inches
- height: 28 cm / 11 inches
- width: 40 cm / 16 inches
Fabric needed:
I don’t know because I used leftover fabric for my bag. You can print the pattern and place it on your fabric to make an approximation. It is only one piece of pattern.
Fort similar bag, you can check Charlie bag by Burdastyle ($1.99). It is a bit bigger and has squared bottom.
Please go to the bottom of this post to download the PDF pattern and tutorial.
Disclaimer: You may use the finished products for both personal and commercial use (craft shops or markets only – no mass production). Please do not pass off the pattern and tutorial as your own. Thank you!
The Tutorial
1. Here is 4 pieces of fabrics after being cut. We’re gonna refer them as set A and set B. If you want pockets, sew them before going to the next step.
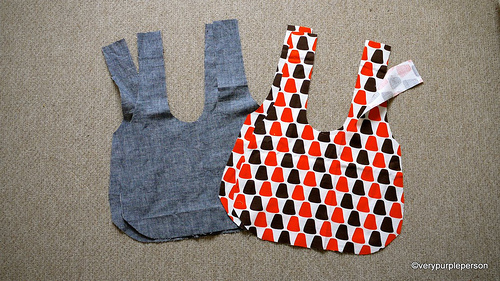
2. Sew the bottom and sides of each set. My bag has a rounded bottom and a dart, Charlie bag has straight edges.
If you use my pattern, sew the darts before sewing the bottom and sides of bag. My apology for not showing how to sew the darts, please do a google search if you don’t know.
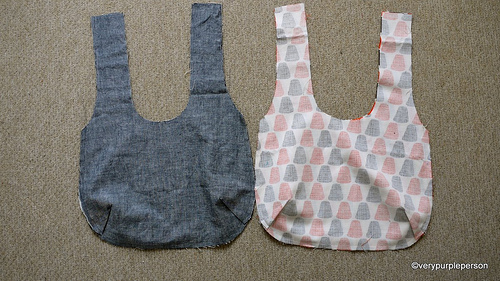
3. Put set B in set A, right sides together, and sew around the straps. Stop stitching about 20 cm before the tops of the straps. If your machine has reverse stitch, use it on each end of stitchings to secure it.
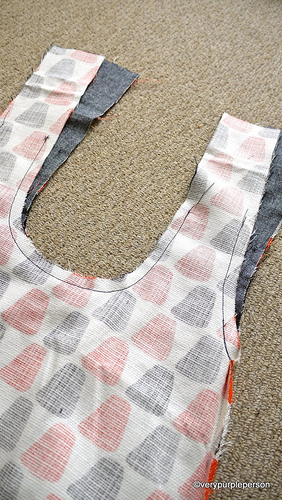
4. Clip rounded corners.
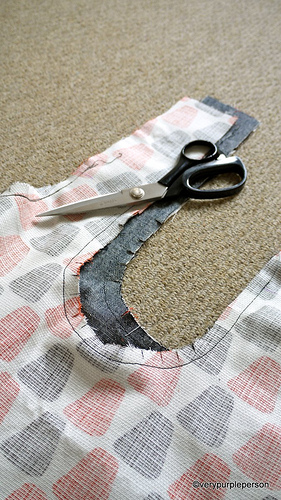
5. Turn the right sides out through one of the straps. It will be a bit difficult at first and you’re gonna wonder if you’re doing it right, but just keep doing it. You will feel a thug and after that the bag will turn right sides out smoothly.
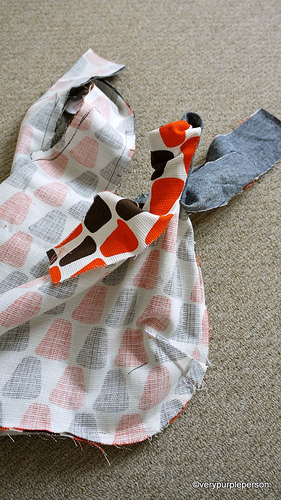
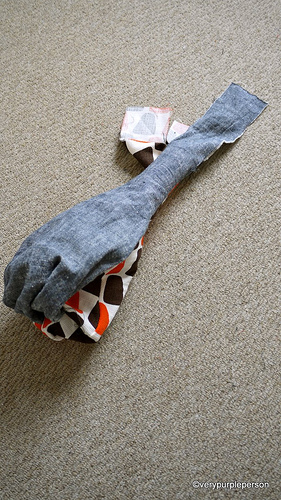
Pull out each of the remaining straps.
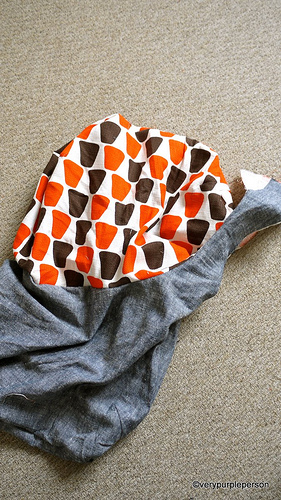
6. Look! You almost have a bag!
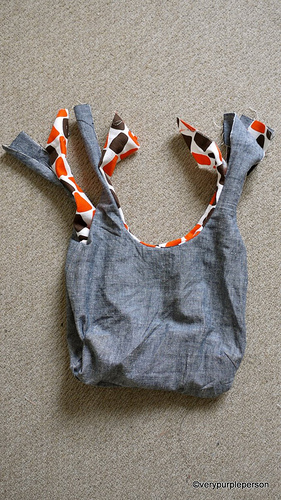
7. Sew the straps of each set together. I often sew the straps absent-mindedly and then found out that I’ve attached them wrong! So please make sure that you sew each strap to the strap beside it, NOT the strap that is in front of it.
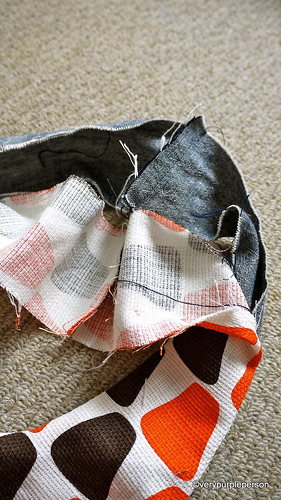
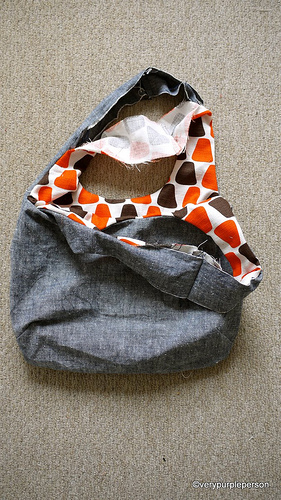
8. Press the seams open. Fold seam allowances on straps and press. Also press edges of bag to make it easier for topstitching.
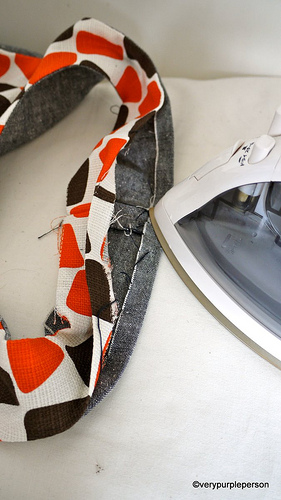
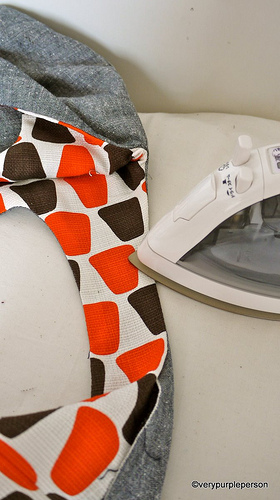
9. Match the tops seams together and pin all open edges of straps. You can also use fusible tapes to make sure it is neat. But I will use pins here.
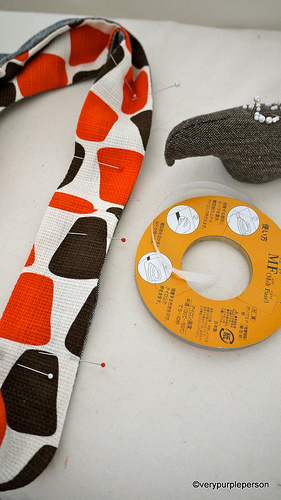
10. Topstitch all edges of bag. I use different colour thread for the bobbin.
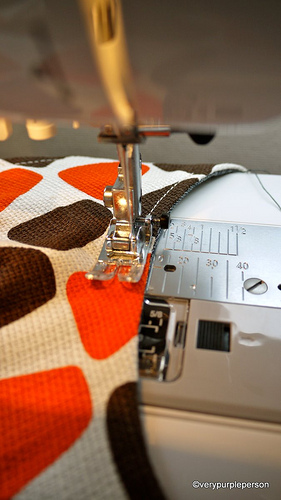
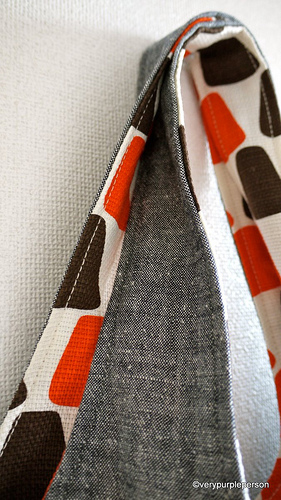
A reversible bag!
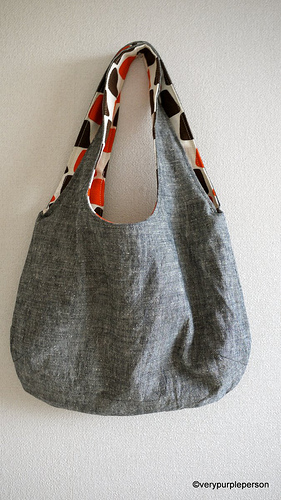
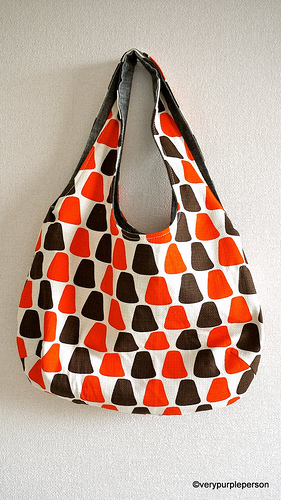
Thank you for reading and I hope this post is useful for you!
Click to download:
REVERSIBLE BAG PATTERN
REVERSIBLE BAG TUTORIAL


421 Comments
I’d like to thank you so much for the pattern! I will try to make one using my husband pants! Thank you so much! I love it!
I found it a lot easier to turn the bag through a gap left in the side of the lining. Thank you for the pattern. I didn’t find it hard, but I found a YouTube video for assembling a similar bag and really didn’t follow your instruction. The bag turned out lovely and I made it as a gift. Thank you again.
It´s me again – now I got it and made a beautiful bag 🙂 thanks for the tutorial!!
I´m soooo desperate & upset. I didnt´n understand what you did in step 3??!! So I sewed together all four levels of the farbric. So the turn didn´t work out. ;( ;( ;(
Perhaps I made it wrong because I didn´t understand the description in English? ;(
I’m so sade : the pattern is offline….
I am really liking these bags now that I am getting a feel for them. I cut out 22 bags and will start “batch processing” tomorrow by sewing the bag bottoms and darts on all them before proceeding to the next step.
Using fabric tailored to the persons I am making the bags as a gift for.
Ok now I have sewed two more of these bags. This time I did not stitch the outside edges of the straps, onle the inside edges of the straps and bags. Turning it took 10 seconds versus the 45 MINUTES it took me to turn the larger bag doing it the way it was written. No offense to verypurpleperson but there is usually an alternate method to accomplish a goal in sewing. Yes I still had to turn under the edges of the outside of the straps and finger press, pin, and top stitch. Now I am a happy camper and plan to make more of these bags. You will notice I have posted a photo of the adult and 2 childs bags showing each side. I use everything but the squeal. This of course refers to when a farmer would butcher a pig and every possible part of the pig was utilized right down to blowing up the bladder to be used as a balloon by the children.Hence they would use everything but the squeal. I mixed and matched using scraps for pockets and used a neutral color thread for everything. Now I am looking forward to making myself a bag.
I made my first “grab it and go” reversible bag the other day and misread the directions but my friend still liked how it came out. So today I determined to follow the directions to make a bag for my DIL and a downsized version for my 2 grand daughters. I completed the bag for my DIL and I want to say this project is not for a beginner sewer. I am very experienced. Step 5 (turn it through a strap) had my poor dogs listening to a stream of colorful adjectives. It took a really long time to accomplish. However the bag is done, top stitched and very nice. I make the adult version a tad wider. Having experienced step 5 now, I will leave a wider opening to turn the downsized bags. I believe in pockets but I think adding pockets makes it harder to do step 5. The first bag I made was reversible however I sewing each set together and turned them separately and then sewing the straps together, top stitched and then did a narrow decorative seam to stitch the bottoms together. I believe this method is much easier.
Thank you for stating that this isn’t for a beginner sewer. I will pass on this.
Thanks for sharing tutorials. I tried this one and this is the result…My daugters thank YOU too :).
This might be a dumb question, but how much fabric do you estimate you used–for the outside and inside separated? Thanks.
Hi! Where can I get the pattern from?
Thanks for the great tutorial. I made two bags, linen and cotton in both. I think I attached the straps the wrong way, and for the next bag I will attach them to the same side. The bags are still lovely, and I will give them as presents. Really like then. Thank you again. You’re very generous in sharing your expertise.
Oh man….I need help!? I am making my first attempt at making this and SUPER new to sewing in general. I’m a bit confused with step #3. Do you sew the A and B separately and then together around the outside edges of the straps? I just did this and ended up sewing the opening SHUT. 🙁 Ooops.
Sew A together bottom main part only, do the same for B. now you have two bags. Do not sew straps or opening. Now Put A into B, right sides together, then sew A and B together, bottom and opening but leave straps open. You need to pull the whole bag through one of the openings. Now sew the straps.
Love your bags the print is beautiful!
great pattern! i found turning it out was the hardest part, so i left the gap a bit wider on the straps, scaled the bag part up a bit and lengthened the straps! Love it. Thank you.
I’d love to see your pattern if you still have it.
Thanks a lot for the tutorial! Here is my bag! Xmas gift for my grandma!
Thanks for the tutorial. I experimented and made a small handbag last night; had to change a few things to make it work, but I got it to work and it came out perfect. See more pics on my blog @ http://evepenman.blogspot.com/2015/12/repurposing-punk-reversible-bag-sewing.html
This is amazing. I love the part when you pull the bag through the straps. Tah dah . Thank you so much !
I just got done making this bag and I plan on making more! And I used different thread in the bobbin too 🙂
thank you so much for this tutorial, greatting from Poland!!!!
eliza
Thank you!! Defenetly gonna try making this..
Thanks for the pattern and great tutorial! My only trouble involved pulling the fabric through the handle because of the bulk of the denim. Any advice for me since I hope to up-cycle some other jeans I have lying around?
Love your bag. do you make them for other people??? If so I would love one since can’t sew. I want one to use as a bingo bag. [email protected]
I made mine here : https://kreanouk.wordpress.com/2015/06/24/un-sac-reversible-1/
thank you so much!!!
Merci ! My first bag, your tuto !!
Where I got in trouble was step 3. You need to reverse one bag, good side out and put that bag inside the other bag, to have the both bags facing each other with the right side …