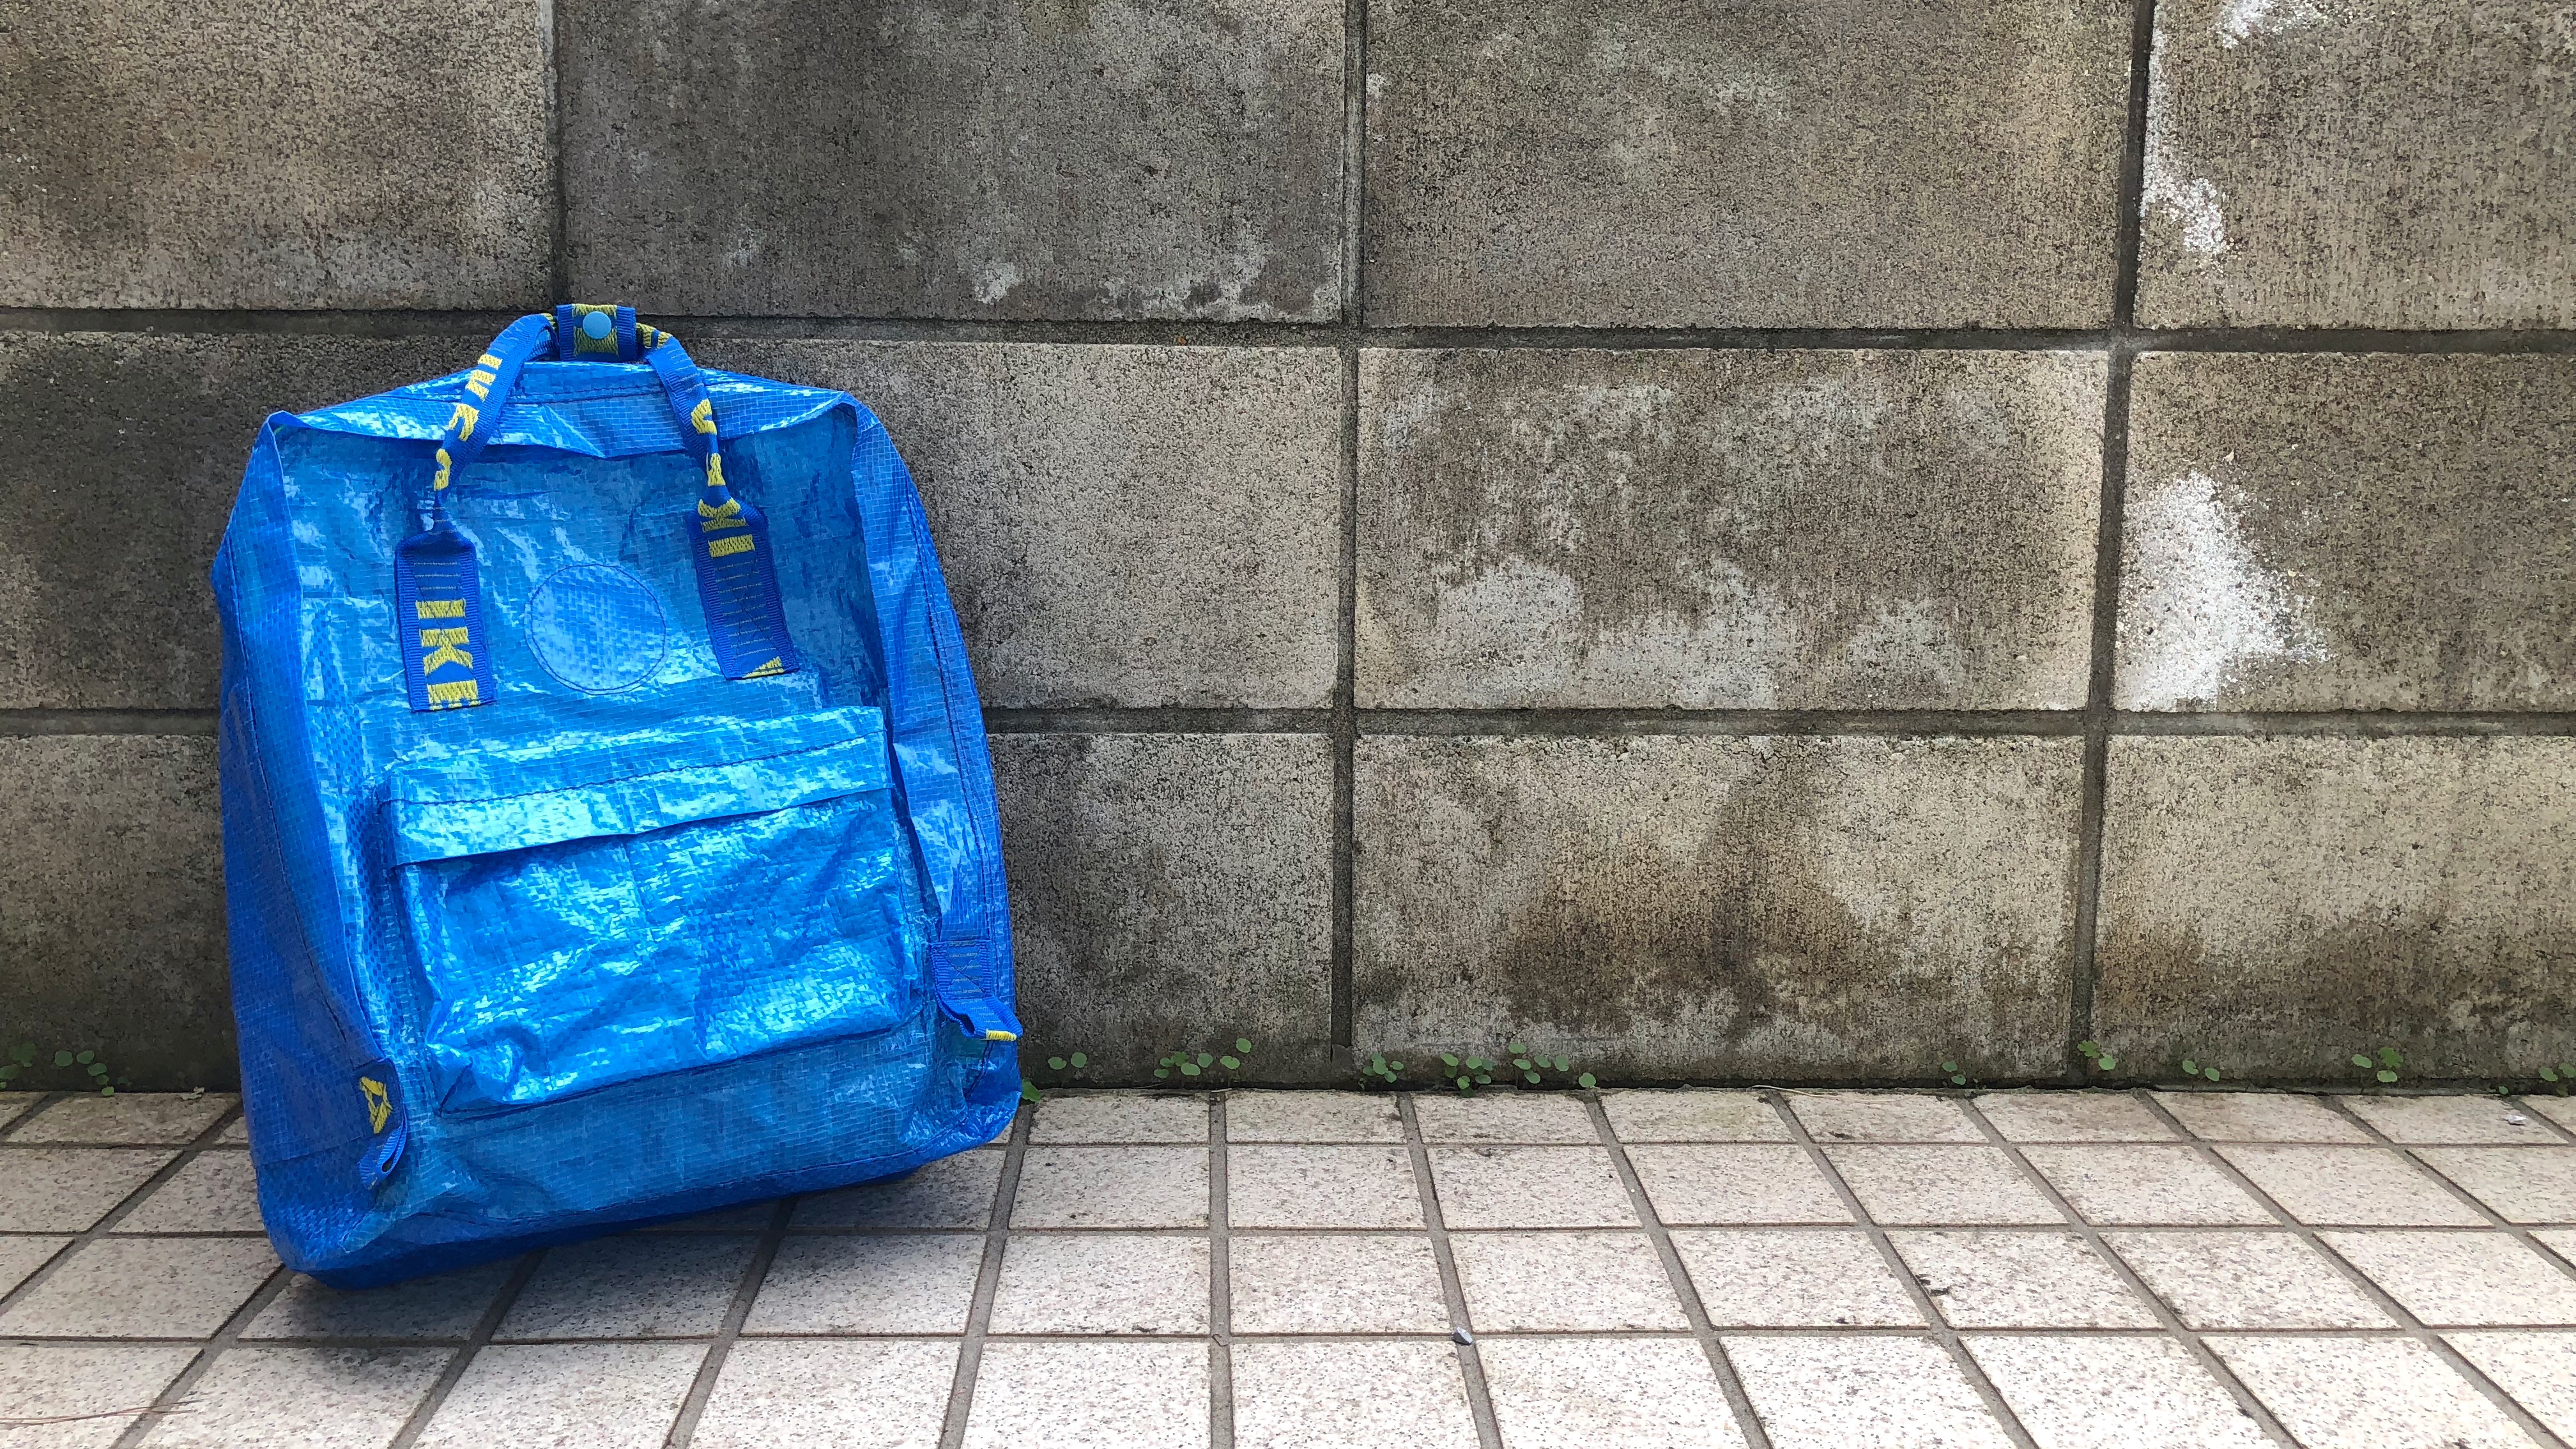
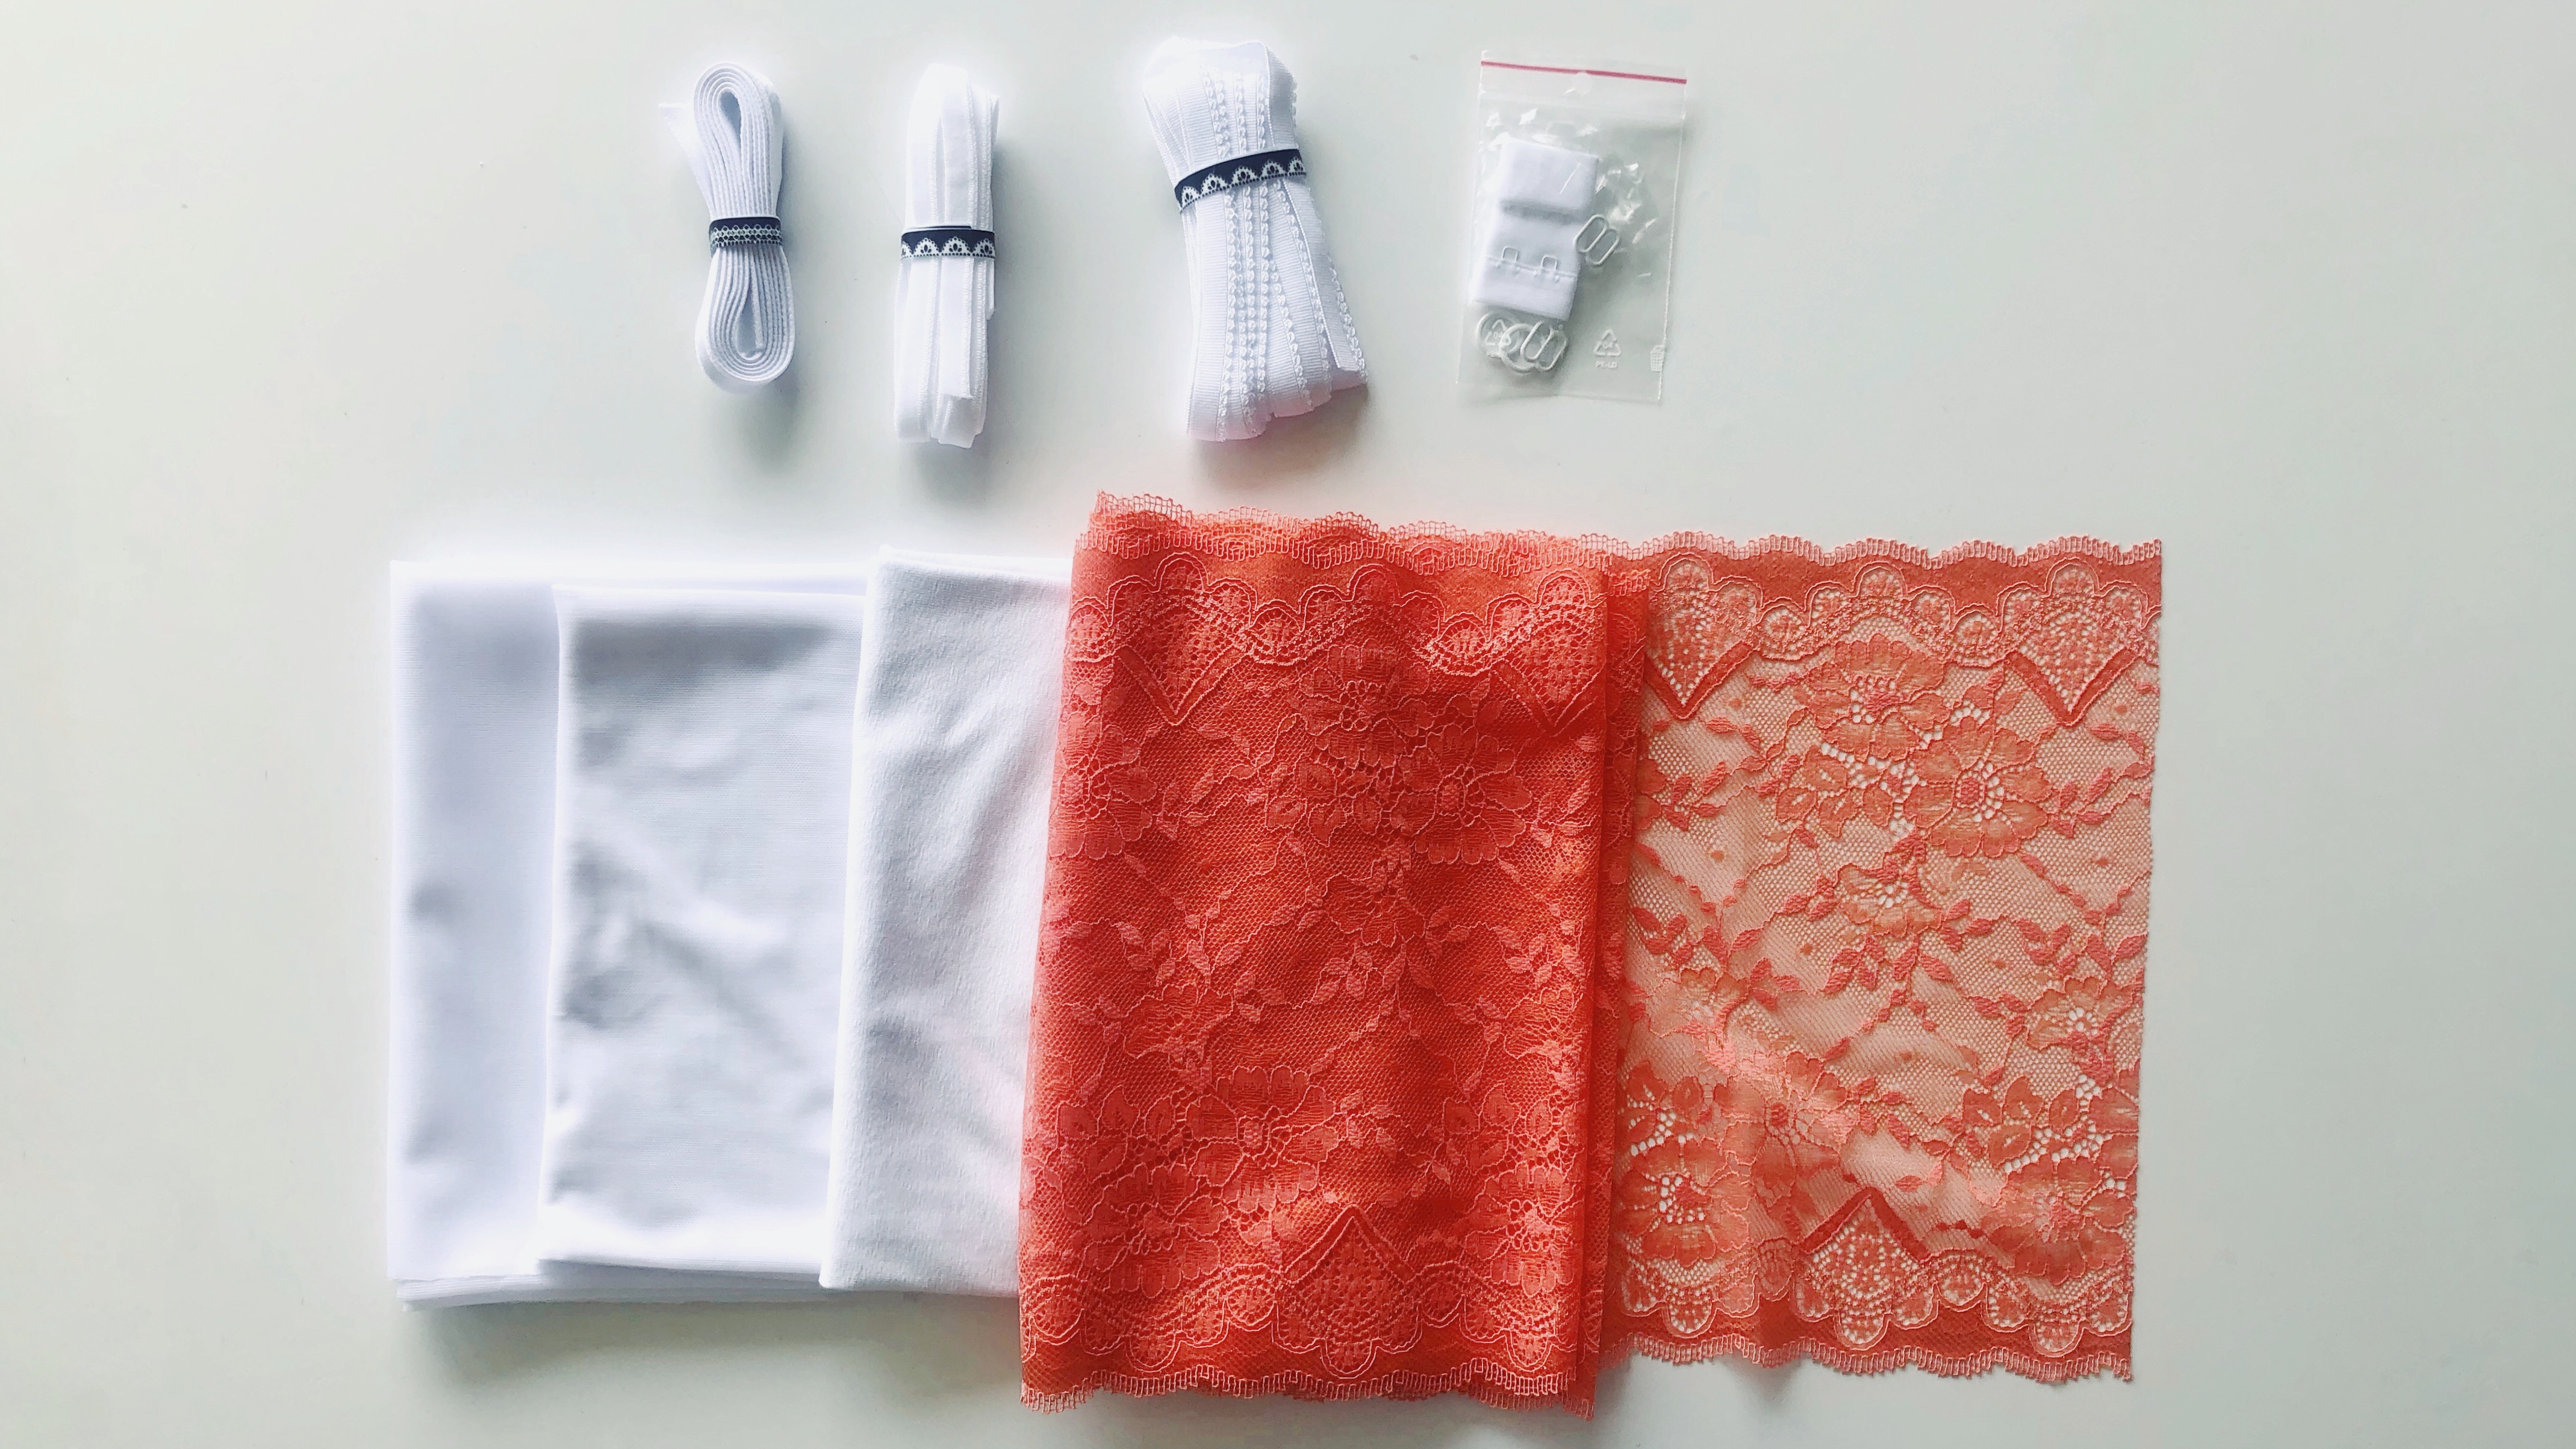
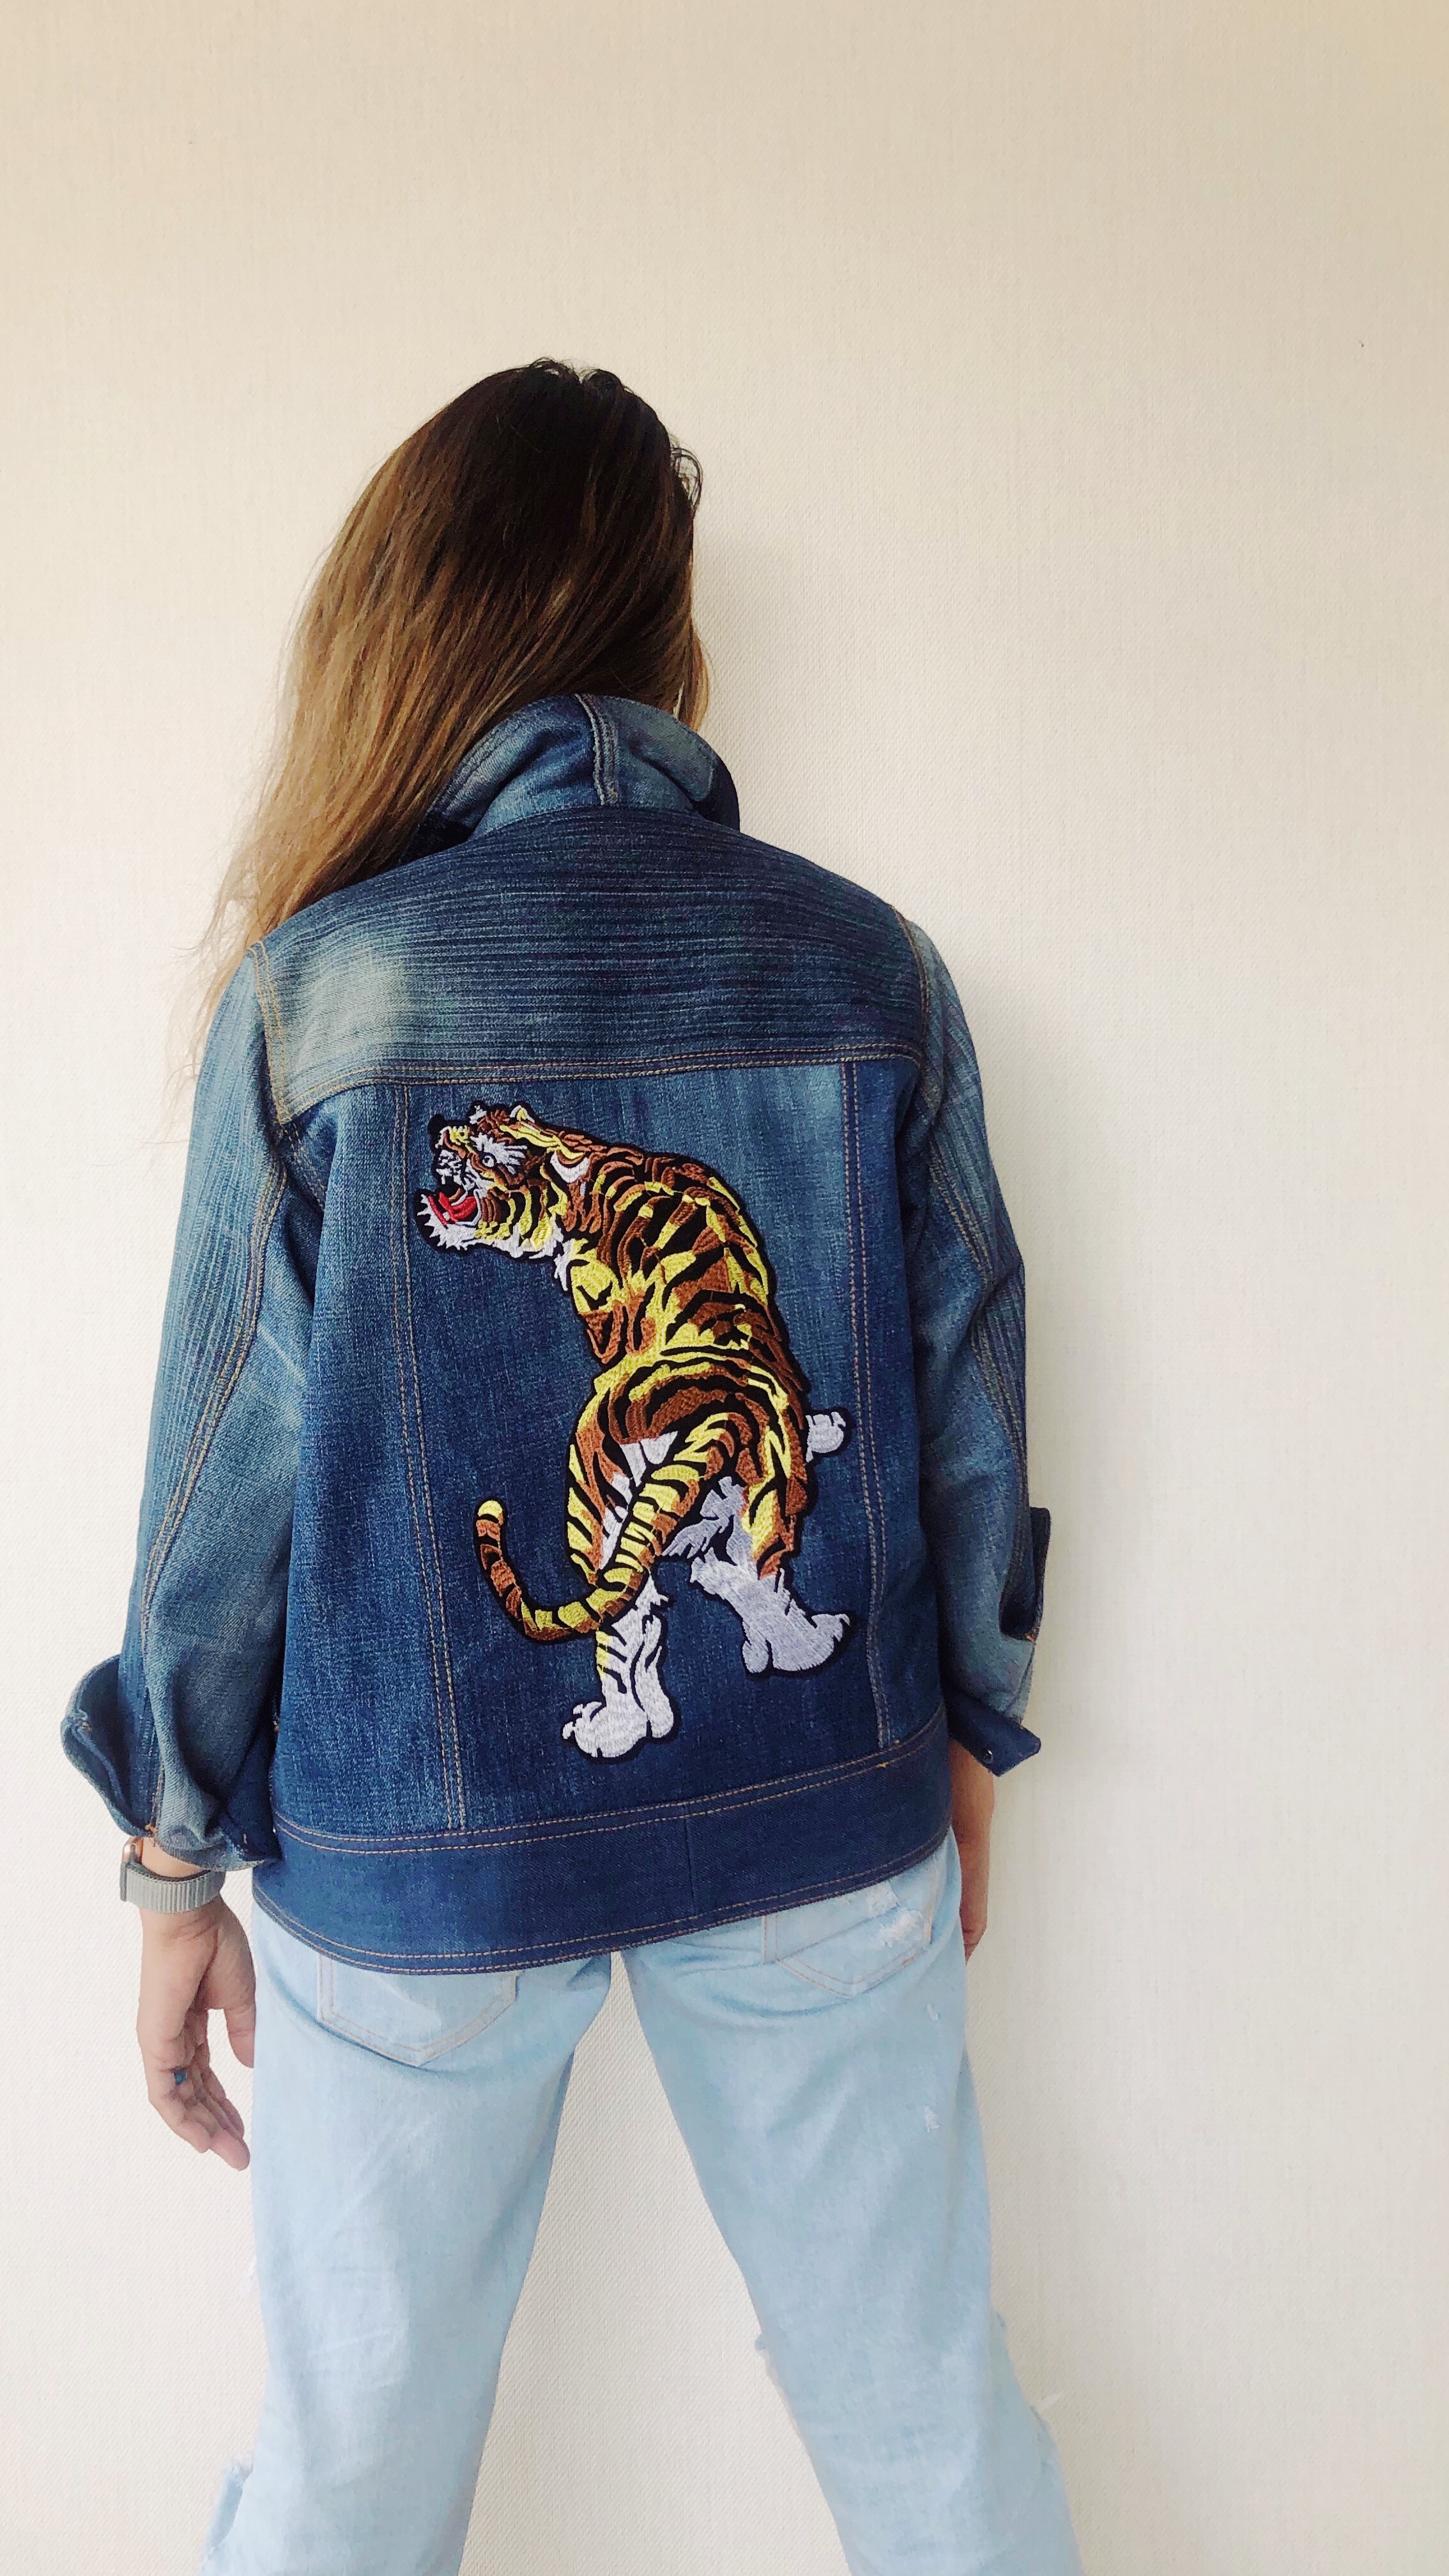


I love this dots fabric. I really do. It’s double gauze cotton in natural colour and those irregularly shaped dots are actually gold. Sadly these pictures can not capture the gold colour very well. I want to use the fabric as much as possible, so I came up with this design.
The top bodice part is Indian cotton lined with the dots fabric, and the rest of the dots fabric goes to the bottom part of the dress. The bodice part has overlapped front which I let laid open to the sides, all topstitchings are done with gold threads (which sadly didn’t get captured really well here). The whole fabric width is used here. One selvedge side on the bottom of dress, and another side on the meeting line with the bodice, therefore the dress didn’t need any hem stitchings.
Making this dress was as easy as it looks, only the bodice needs some kind of pattern and the bottom parts are just a pair of rectangles. Yeah, it seems that I use a lot of pairs of rectangles for making clothes.


The tutorial
My bodice pattern is developed from a basic pattern, but if you have a sleeveless top or pattern with the fit that you like, you can use them to make a new pattern. Burdastyle has a basic bodice sloper/block in size 32-46 that you can use.
I’ve made some simple diagrams for developing the pattern. Just click the pictures to go to my flickr page and download the bigger sizes.
If you prefer a pdf file, here’s a 3 pages pdf file that can be downloaded here.


Materials:
- A sleeveless top or bodice pattern of your choice.
- Pattern paper
- Fabric for bodice part. You can use the same fabric or coordinating ones.
- Fabric for bottom part. My fabric is 120 cm in width and 2 m long. A bit goes for lining the top part and the rest goes to the bottom part.
Bodice part:
- Fold your top along the vertical middle line, put the pattern paper over it and trace the top.
- Make sure you trace the neckline, armholes and the sides of both front and back pieces.
- Mark the bottom part of bodice on the pattern. Mine is about 3 cm below the armholes. Draw a straight line perpendicular to middle line.
- Check the sides of front and back pieces, make sure that the lengths are the same.
- To make the overlapped front, add 2.5 cm on the middle front lines.
- Add seam allowances all around.
- Now you have the bodice patterns!
Sewing the dress
- Cut fabric using bodice patterns. You will have 2 front pieces and 1 back piece.
- It is easier to line the whole bodice part. If you want to do this, cut another set of bodice pattern from lining fabric (I use the bottom part fabric). Sew the bodice pieces and linings.
- Cut the rest of your bottom part fabric in two.
- Sew to make a tube. Please notice that the selvedges are on top and bottom of the tube.
- Gather the top part to match the bodice pattern.
- Pin the bottom part to the bodice part, matching side seams together and sew all around. I put my bottom part on top of the bodice part to let the selvedge shown outside.
- You have a dress! \(^.^)/
Some ideas:
How many dresses can you make with this technique?
There are endless possibilities, depending on the fit of the bodice part, the cutting line, and the length and width of bottom parts. Add ruffles, sleeves, button, different variation of opening, or use stretch fabric. Instead of gathering the bottom part, you can also pleat them.
All of these dresses are made with this technique in different variation. Bodice part + a pair of rectangles can go anywhere!
Click here to download:
Gathered dress tutorial (1912)
Have you made something from my tutorials? Join my flickr group to share!


Dotty Leia dress
What I did today
Learning to embroider
Surprise package!
Novita dress

OMG. This dress is perfect, thank you so much for sharing it! It’s even more perfect because it doesn’t need any elastic or zipper. Gosh, it’s fantastic. Thanks again!
hi! thank you for unselfishly sharing all your sewing know-how. it greatly helps those who are just beginning to learn the art of sewing (like me!). thank you very much.

lala´s last blog ..after the transition
Hi I’m a novice sewer so this may be a novice question.
How do I turn the lining? Do I sew the arm holes after I have turned the bodice? I’m confused.
This is my way of doing it:
1. Sew the shoulder seams for each outer side and lining side. Don’t sew the side seams yet.
2. Place outer side and lining side, right sides together. Sew around the neckline and front opening. Sew around the armholes.
3. Clip rounded corners. Turn the right side of bodice out.
4. Match the sides of bodice and sew the side seams. Press seams open.
5. Press edges of armholes and neckline.
Hope it helps.
I saw this months ago but have returned because I think I’m ready to give it a go! I love it. Will post on your Flickr group if my gathered dress end up wearable
Thanks so much for this.
great tute..I made children dresses with this technique too. I love your ruffle sleeves best..:). Salam kenal dari India..^_^
Phiphi´s last blog ..For The Boys : Ben 10 T-shirt & Pj pants
i love your tutorials, you are awesome!!! will try one soon, as the cold weather has made me a bit lazy!!! : (
Aww thank you! (*^.^*)
YOU ARE SO CLEVER!!!
(and nice.)
xxx
[...] is the link to an ankle-length gathered gold dot dress she made. She made several in various lengths. She gives the instructions on how to make them all. [...]